TruckHacks - Herculiner Bedliner Project


Make sure you at least jump down to the end to read the updates if you don't end up reading the whole thing.
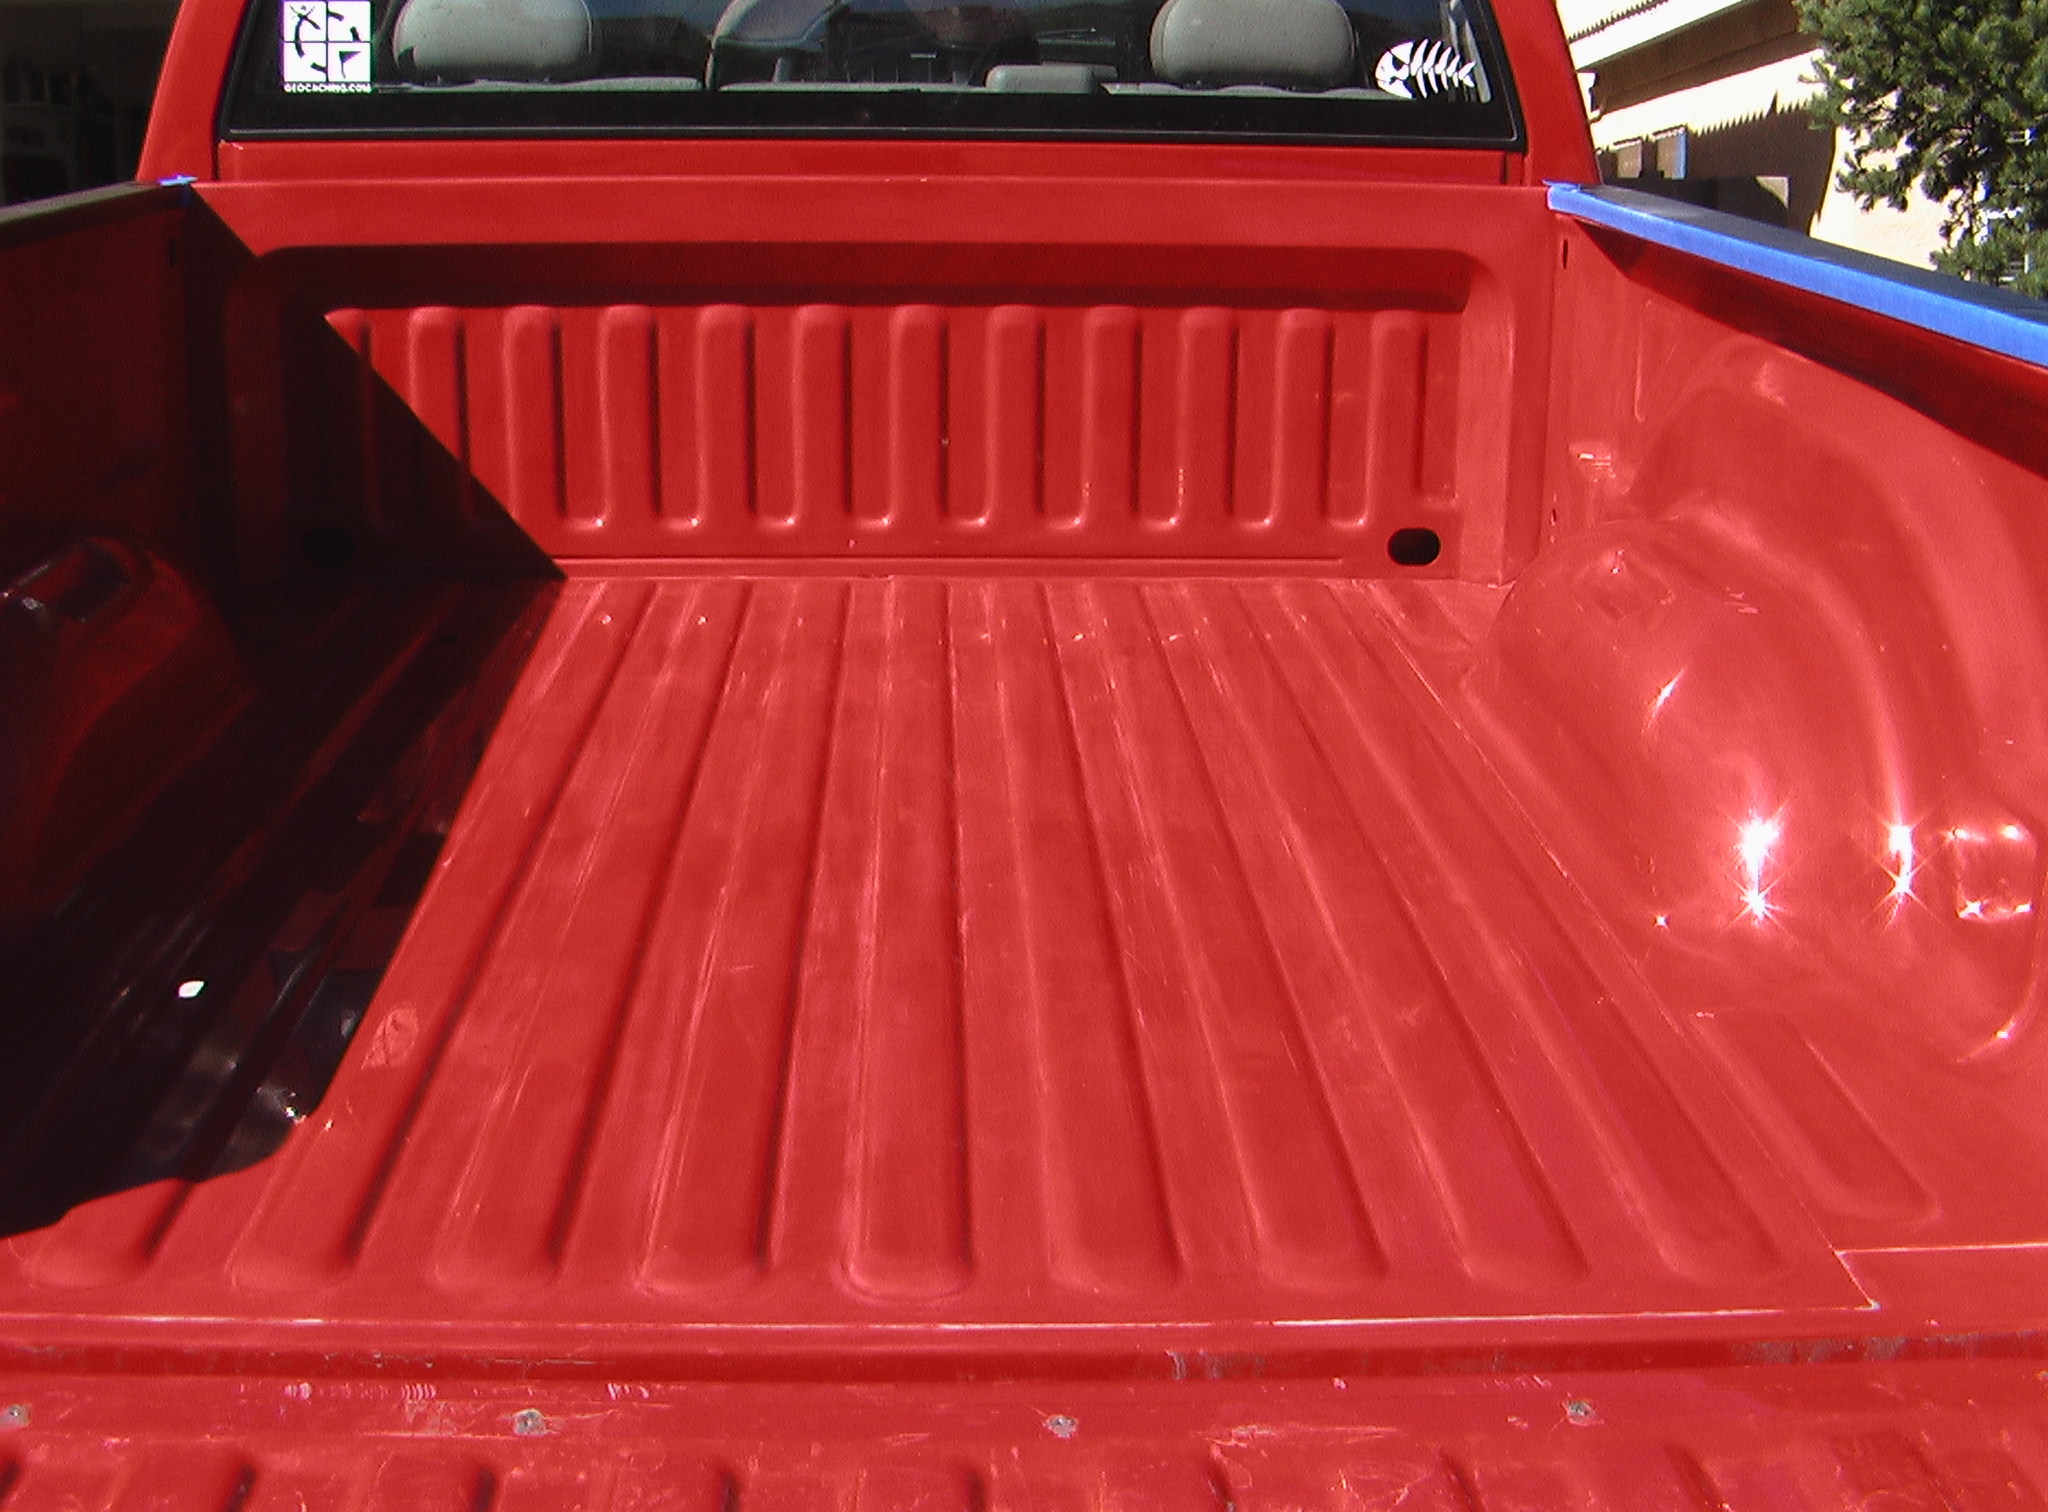
My old Ram 1500 had a Mopar under rail drop in bed liner. Maybe I'm weird, but I actually liked having a "slick" bed. When I loaded up for a camping trip I could set something on the tailgate and with a good shove, send it to the front of the truck. There were only two things I didn't like about it. One is that it rubs on the stock paint pretty bad so rust in the future was inevitable. Second was that water collects under the bedliner which also increases the risk of rust.
I debated heavily the pros and cons of drop-ins, spray-on, paint-on, and mats. Eventually I decided on Herculiner based on price, "ease" of installation, long-term protection, ease of fixing / maintenance, and looks. There are quotes around "ease of installation" because it wasn't all that easy. The prep work of scuffing / scoring the stock paint in the bed, dealing with headache inducing M.E.K. and the nasty gooey mess that is Herculiner over a two day weekend wasn't "easy".
I decided to give Herculiner a shot for a few months to see if I really like it. If not, then my plan is to buy a Mopar drop-in bedliner and since the bed will be protected with Herculiner I wouldn't have to worry about the paint scuffing problem I mentioned above so much. If the Herculiner started to wear, I could just do a touch-up on it.
So, let's get on with the meat and potatoes!
The first thing you have to do is the prep work. The kit includes a green scouring pad which you use to scuff up all the paint you plan to coat with Herculiner. I considered using a powerdrill or sander to make it go a little faster, but for whatever reason, I ended up doing the entire bed by hand.
After you've scuffed every nook and cranny, then you wipe the whole thing down with MEK. I got a bit depressed when I discovered post-MEK that I had missed quite a few spots. So, it was back to work scuffing away. By now, my fingertips were nearly raw and cramped like nobody's business.

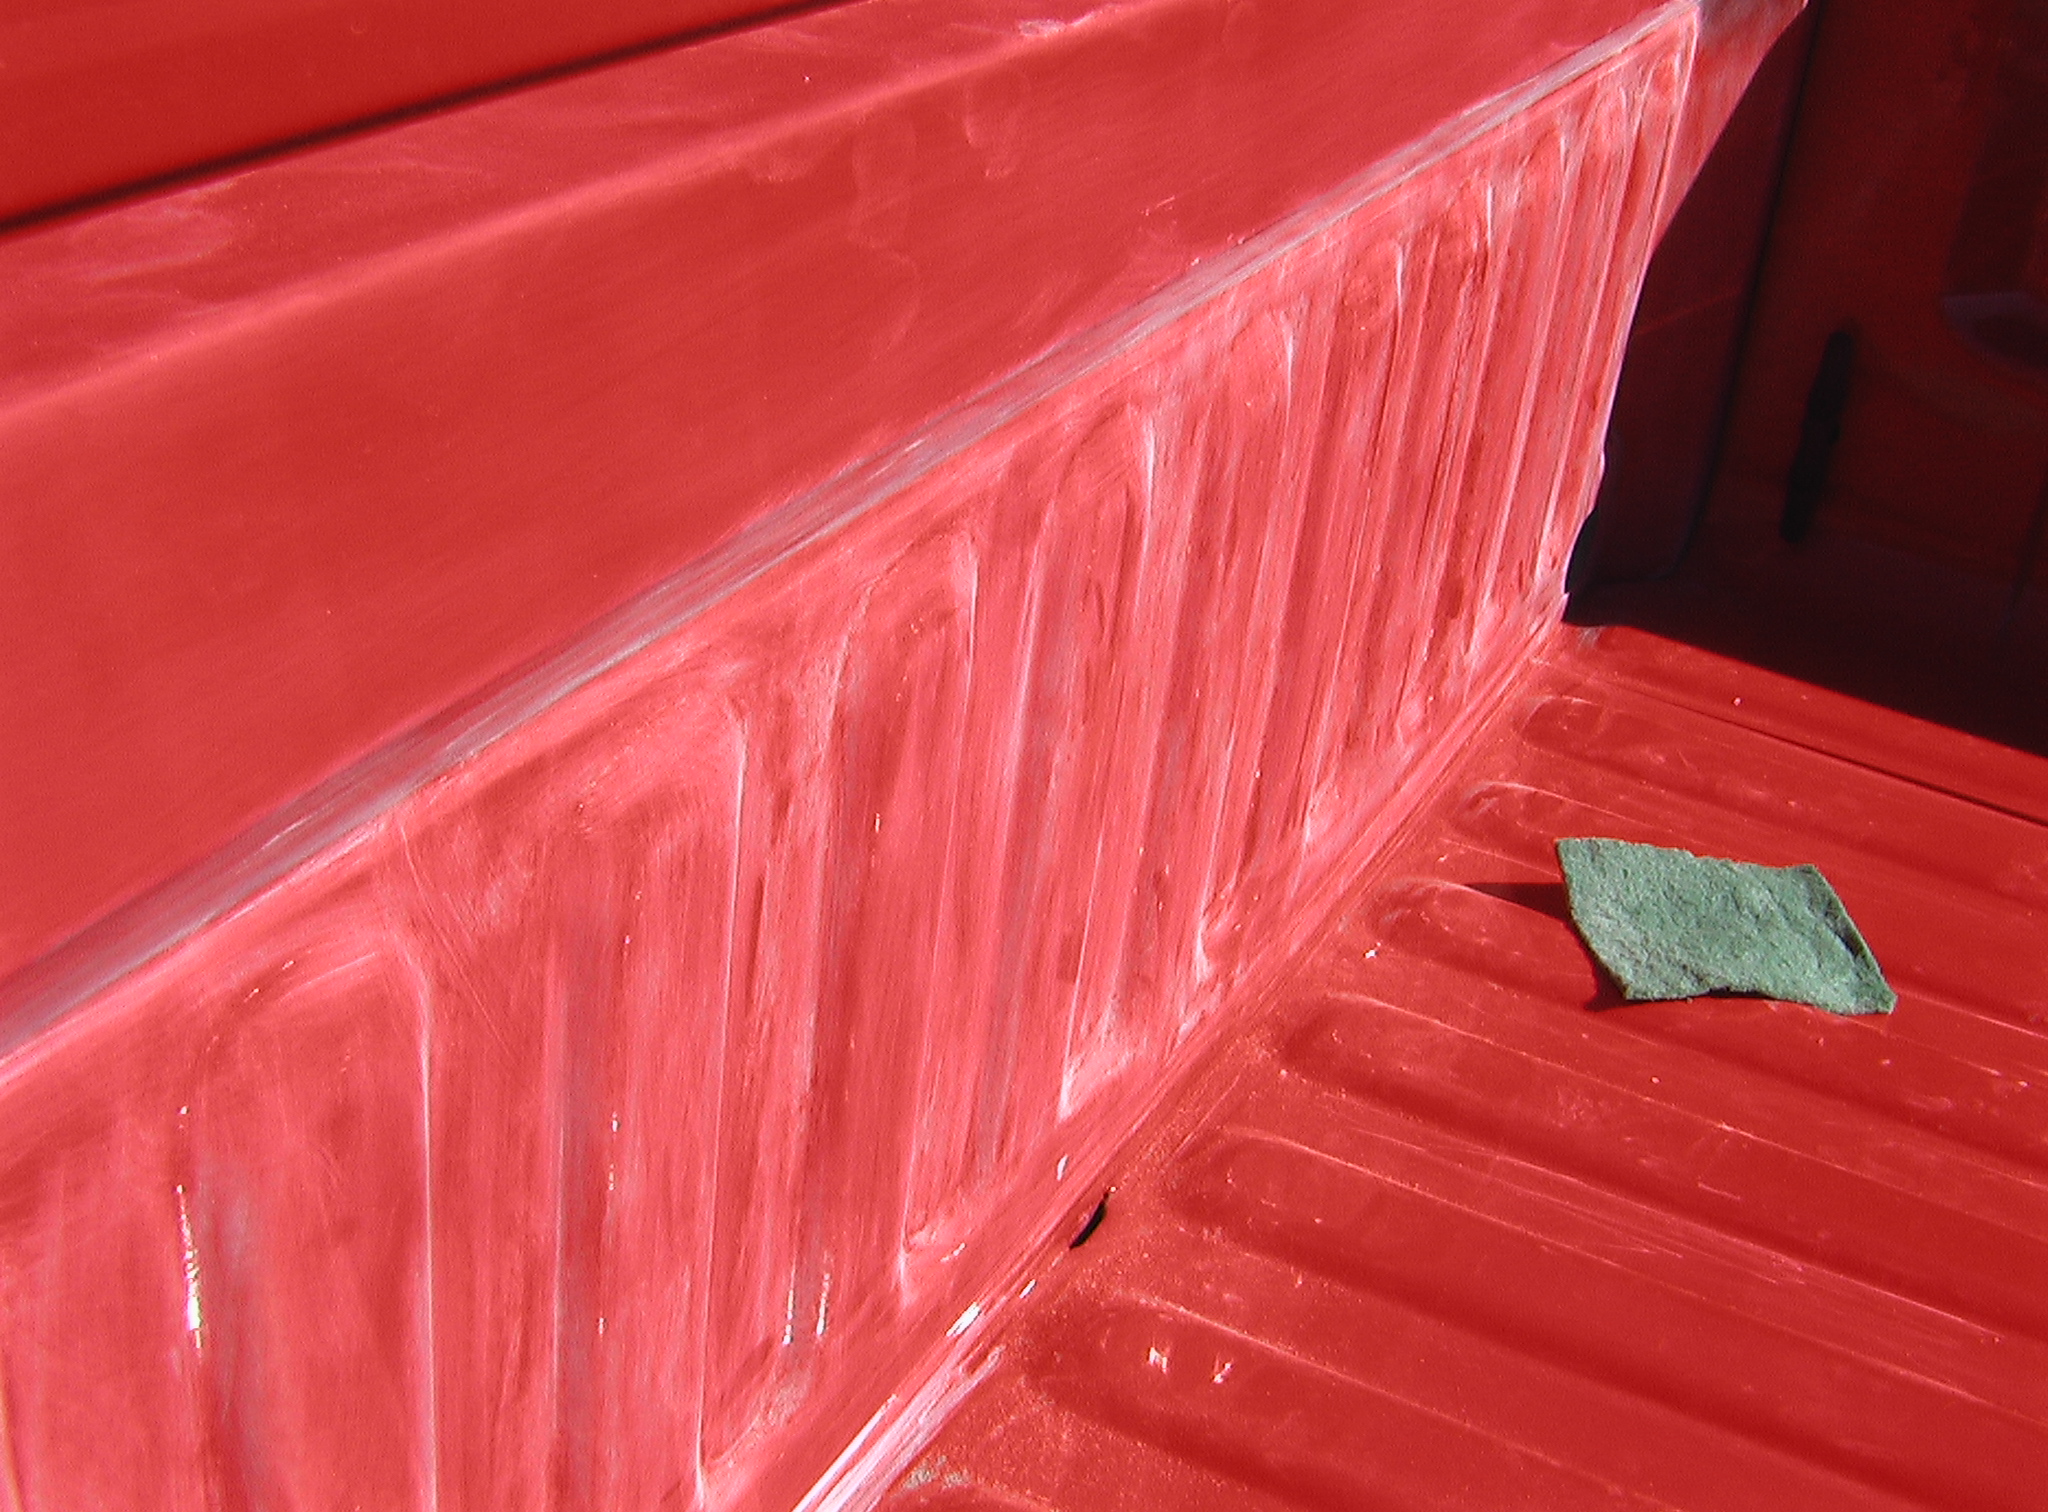
Another round of MEK and I was ready to start applying Herculiner. The instructions state that you should use the included brush to get all the hard to reach spaces and seams.
Once I'd gotten all the spots where I thought the included paint roller would have a hard time reaching, it was time to start laying down the broad strokes.
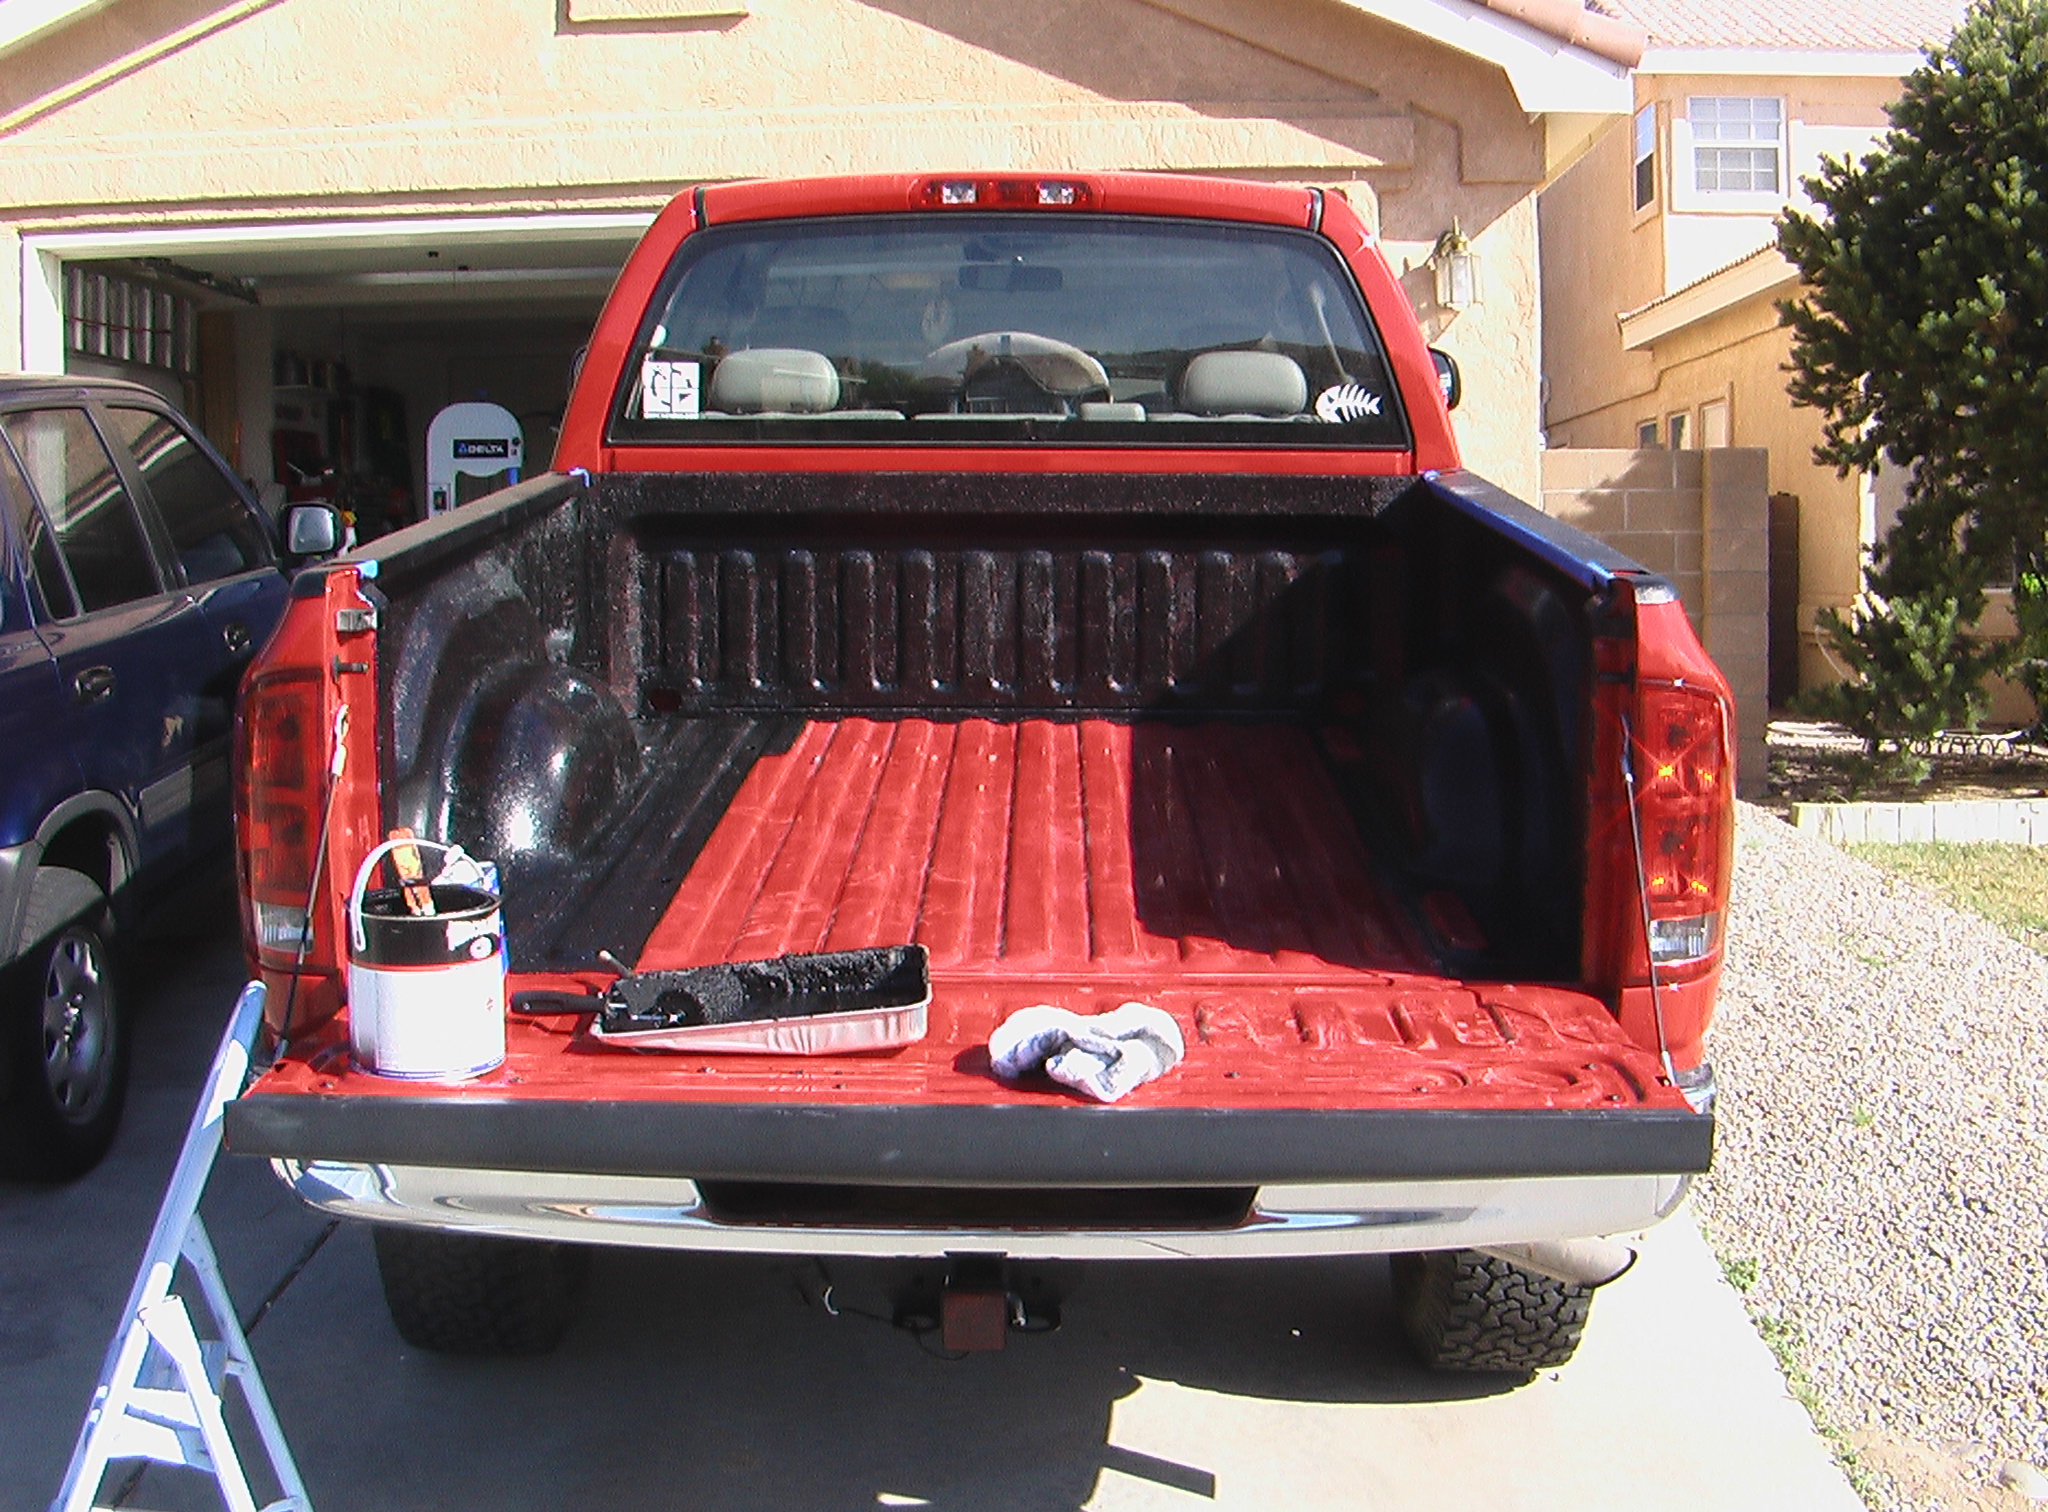
Make sure you keep the MEK handy to help thin out the Herculiner and to quickly wipe up any overpaint you might get somewhere. You'll definitely want to wear old clothes and if you can stand it, some sort of gloves.
Update: It's been nearly half a month and I still have Herculiner around my fingernails!

In the lefthand picture, it doesn't look too bad, but get up close and you can see it's a mess. The instructions said you'll need two coats, but at this point I was worried that this was going to be ugly looking when it was all said and done. I let the first coat dry for about four hours and then started in with the second coat. I used the brush again to get to all the hard to reach spots first.

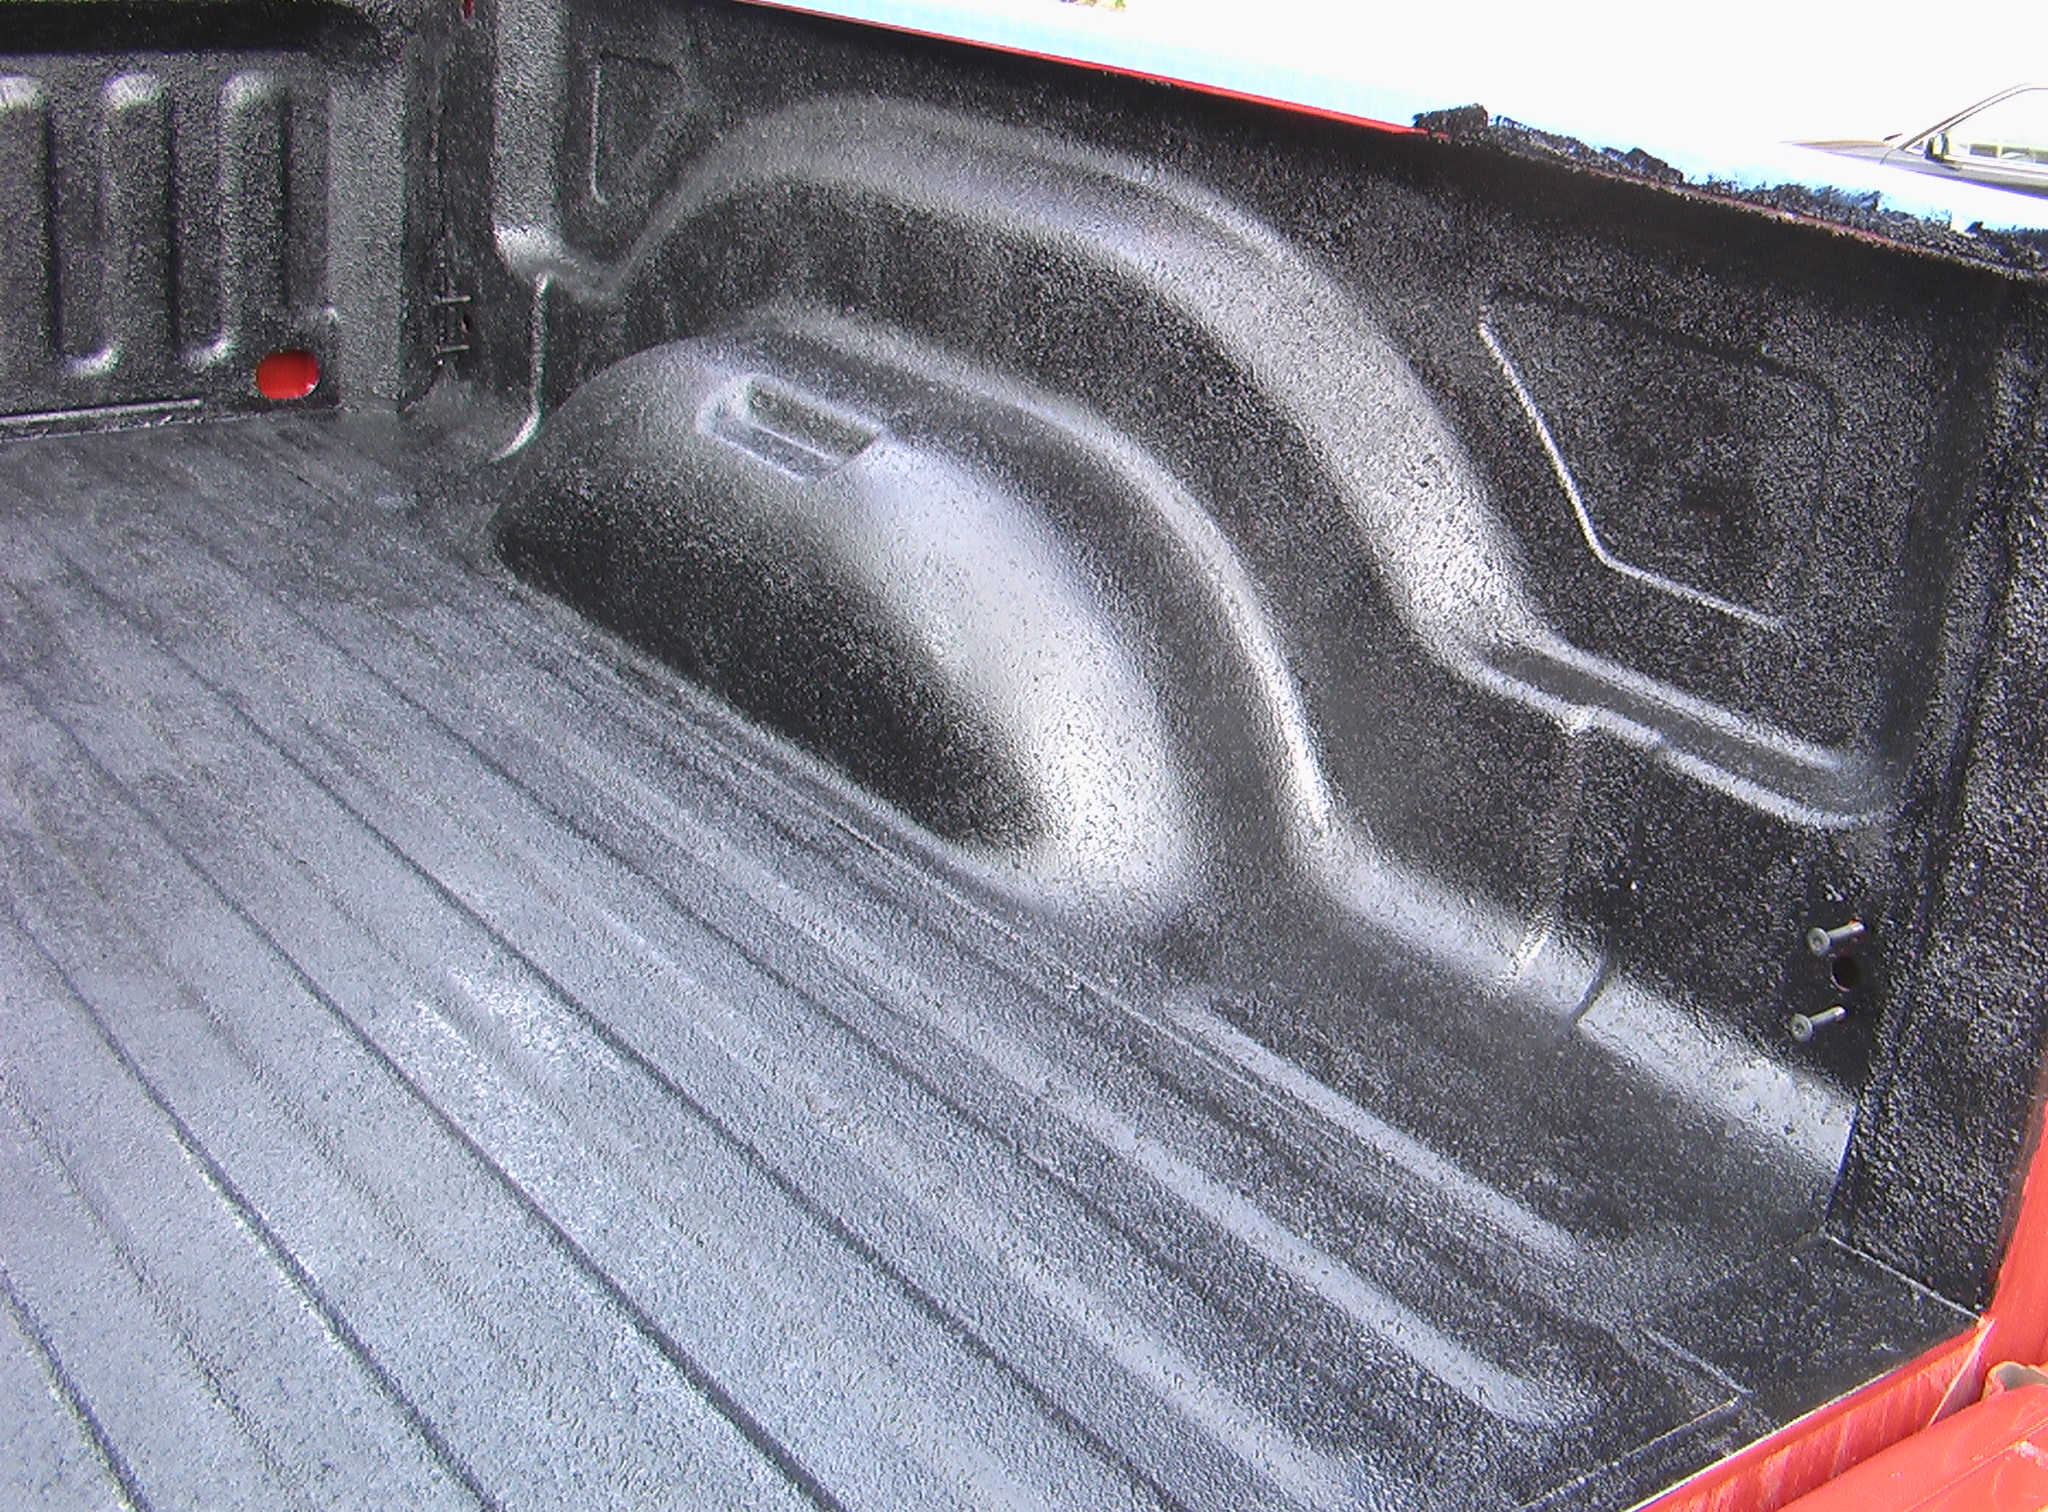
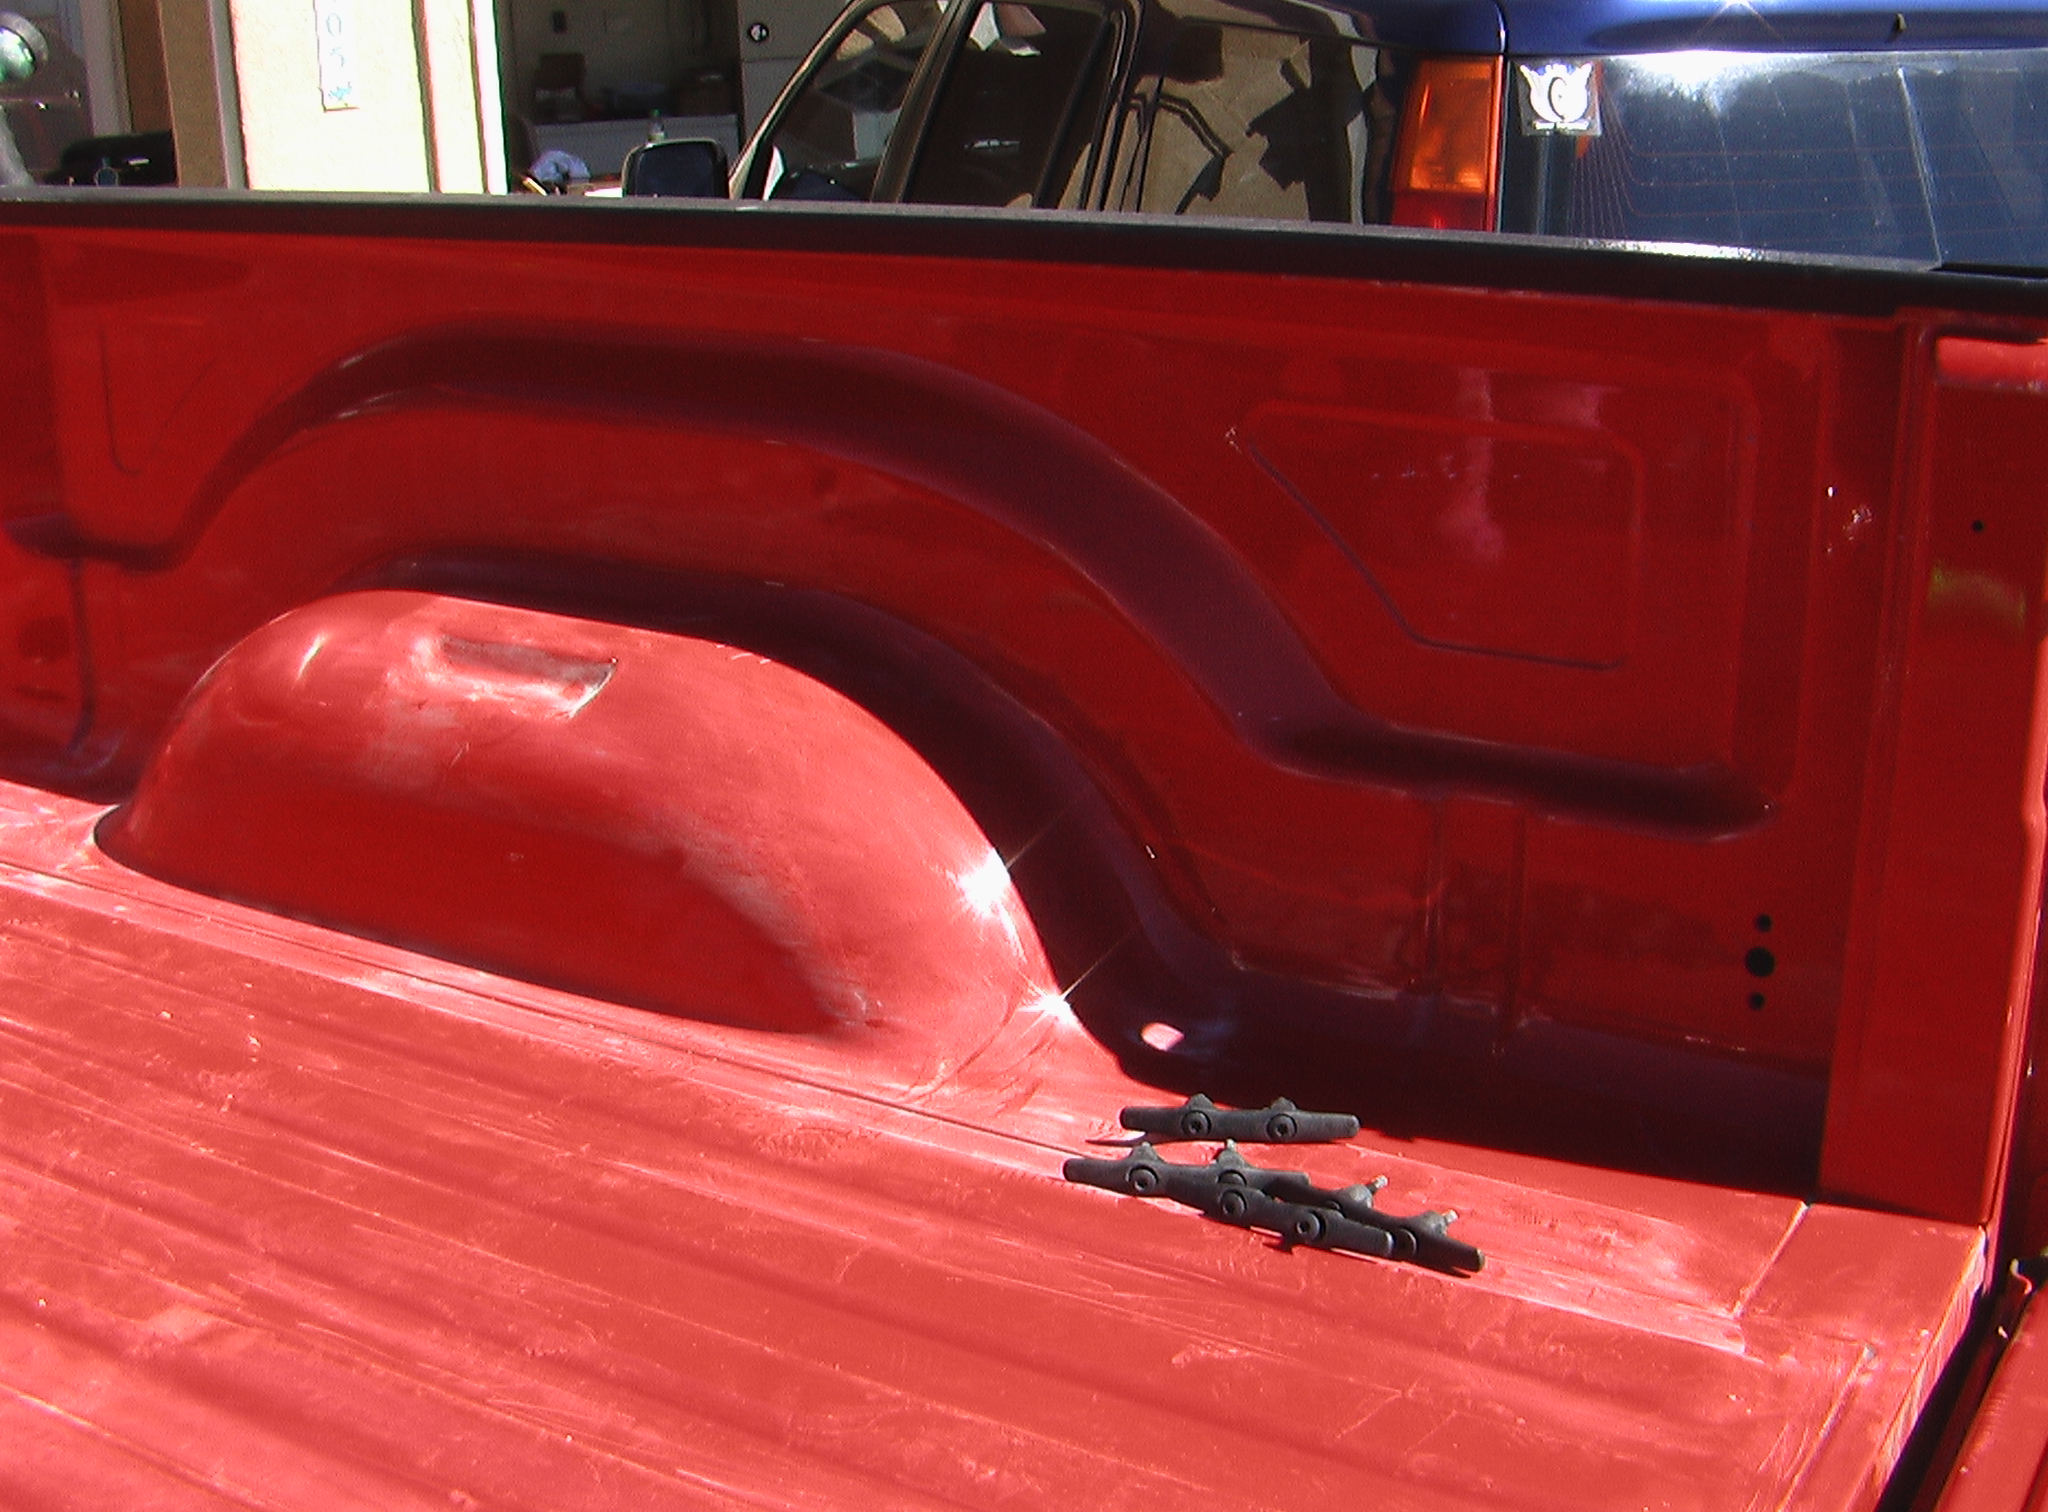
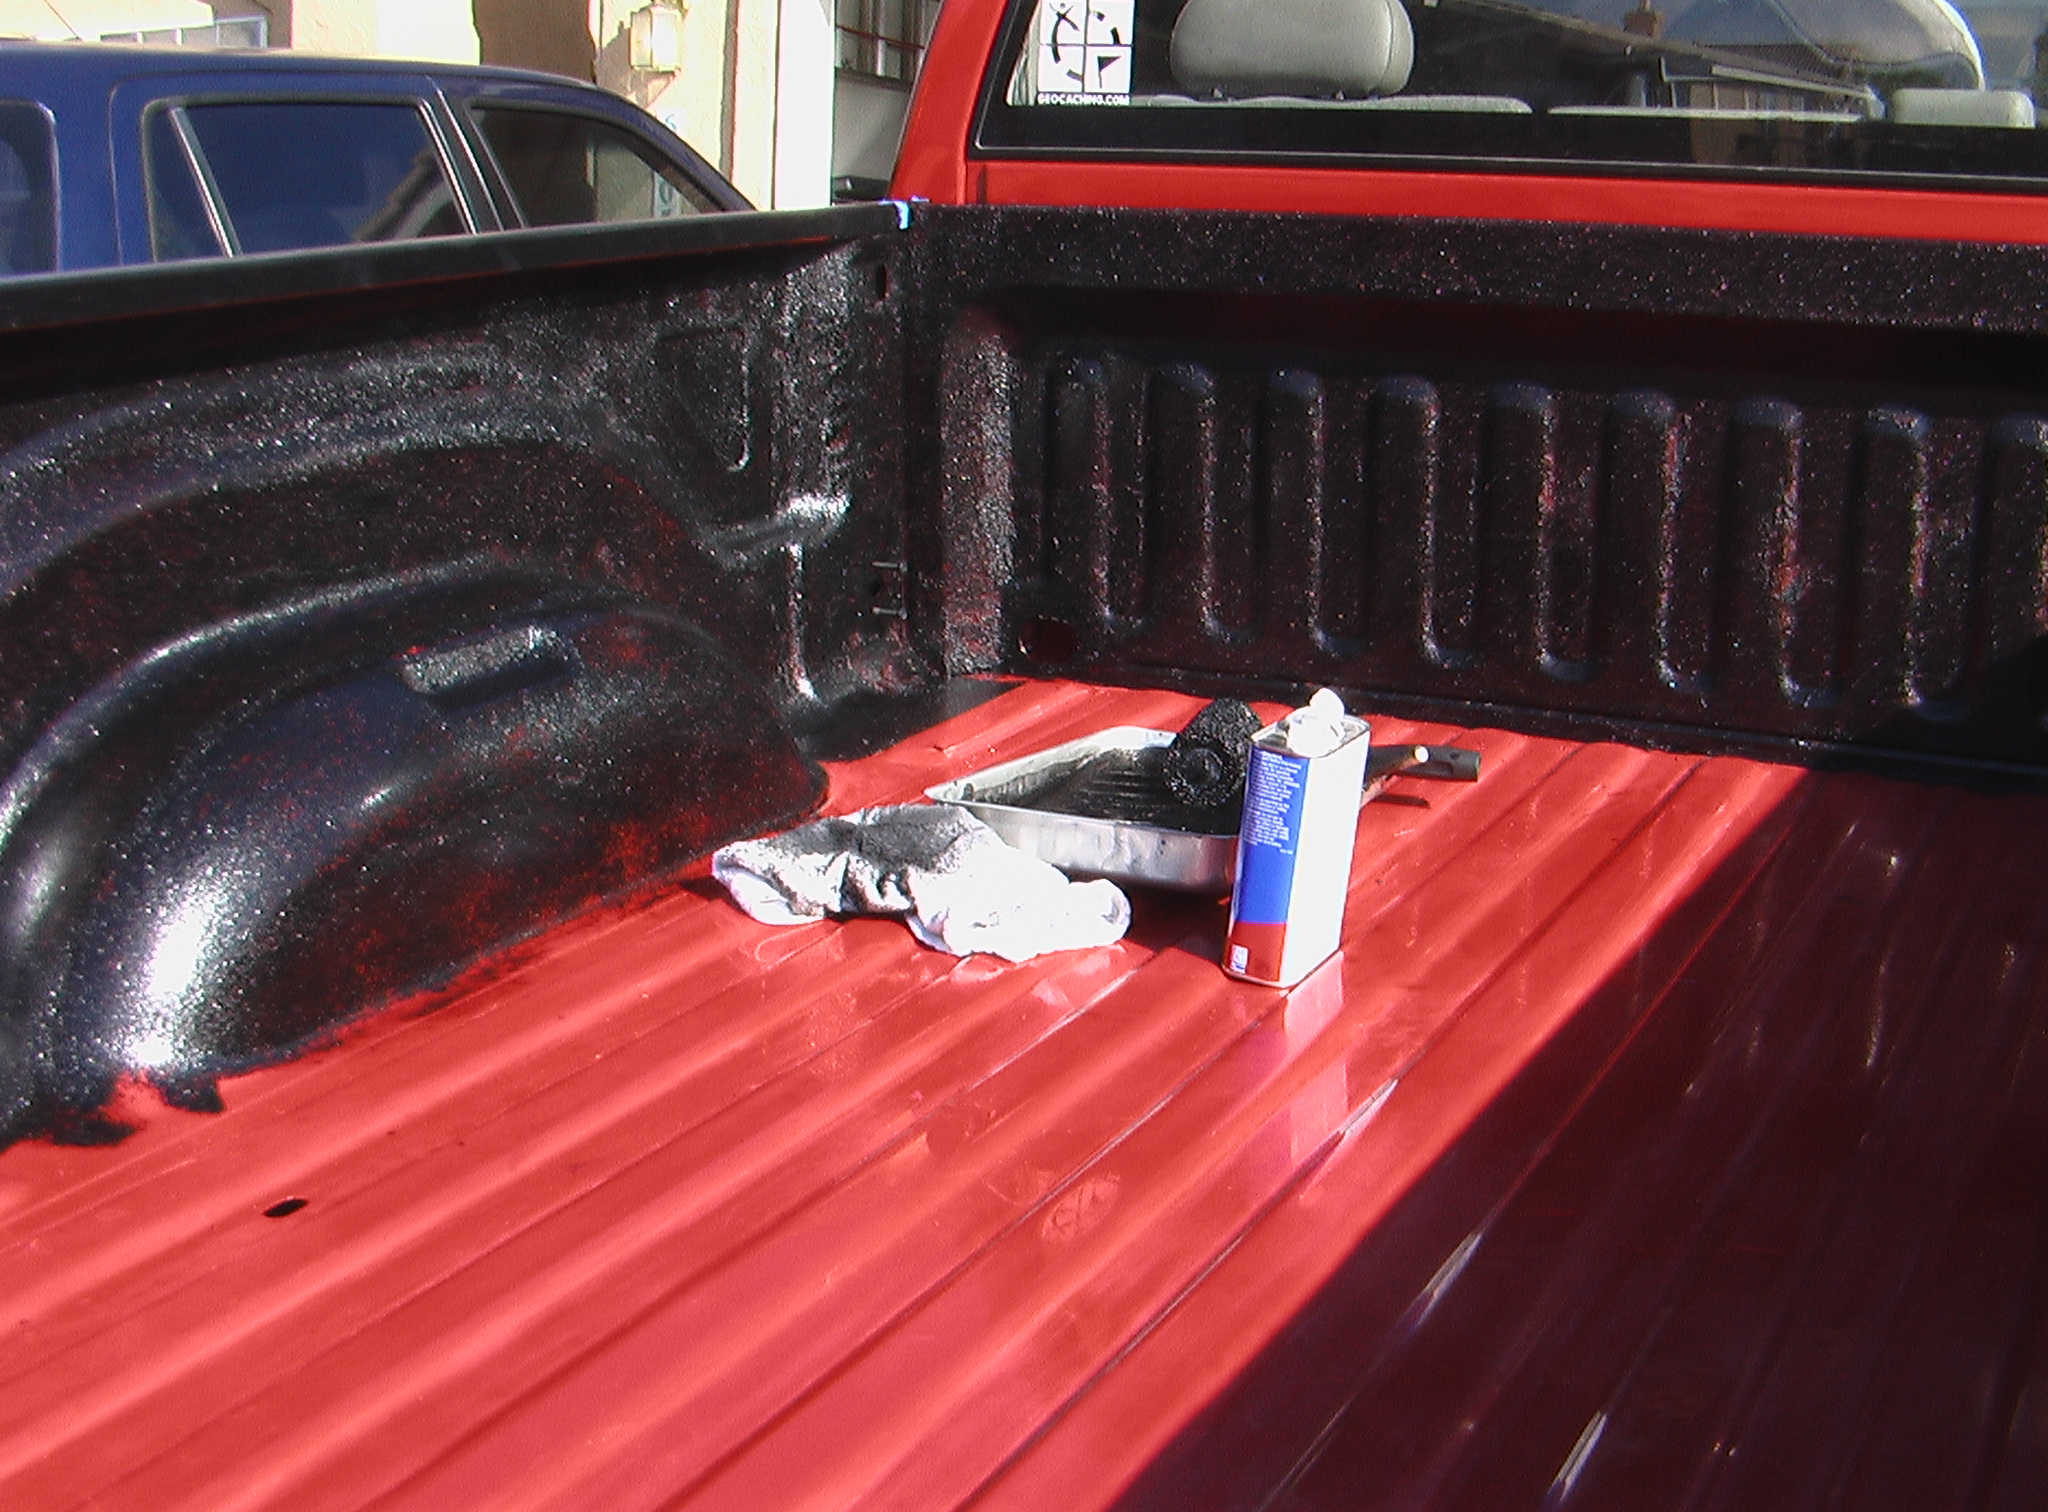
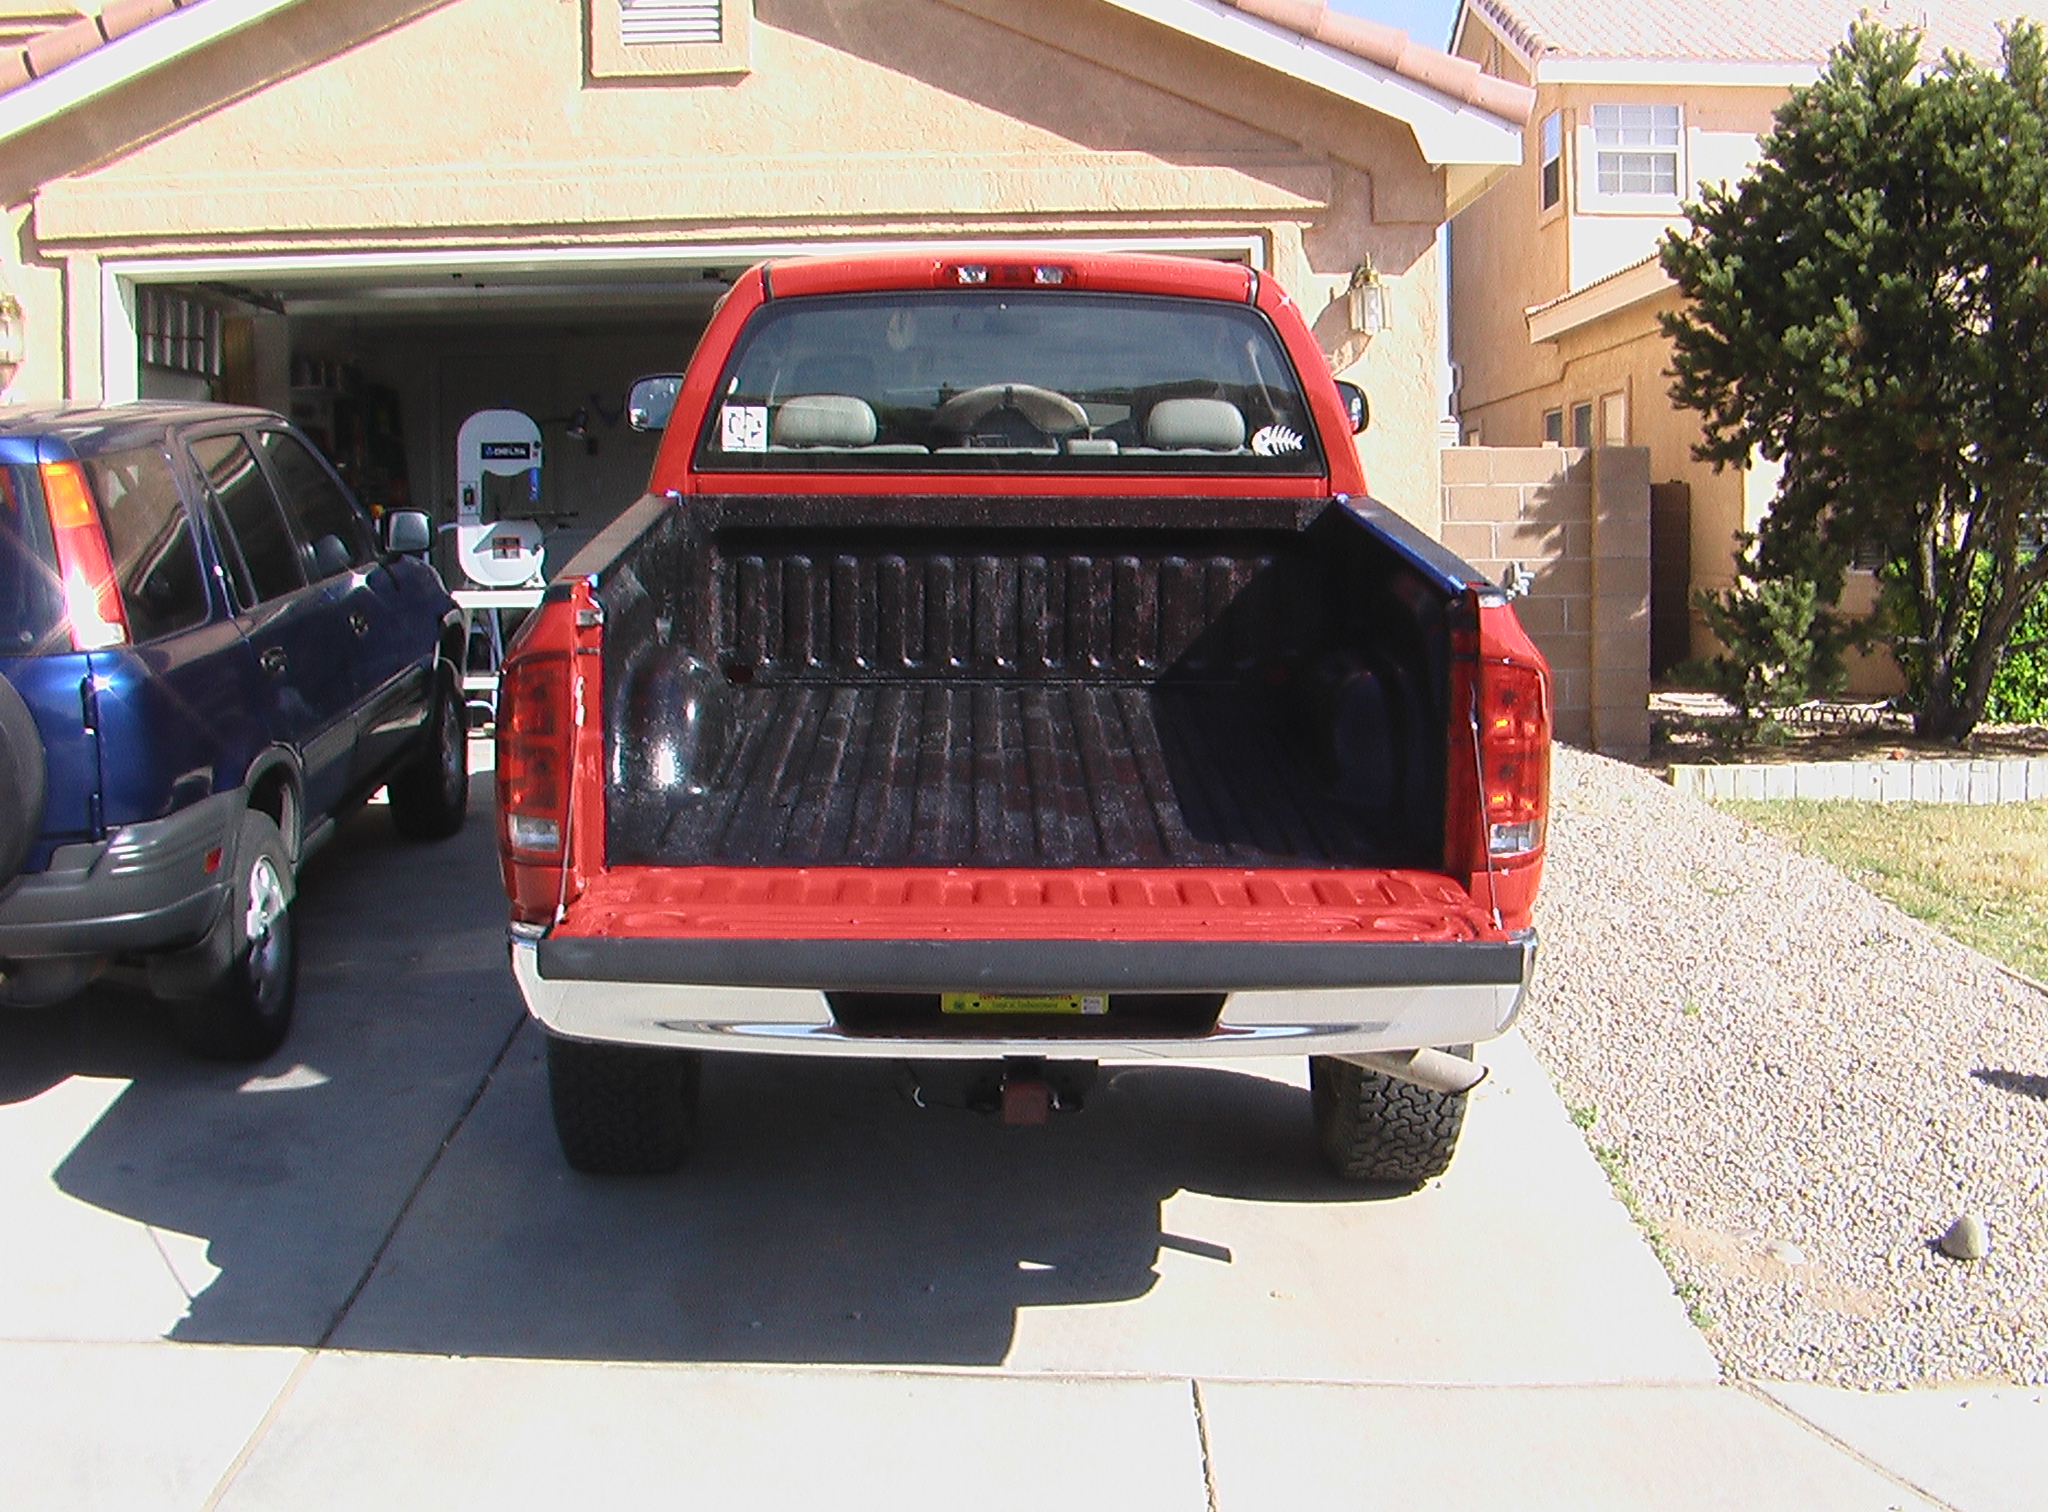
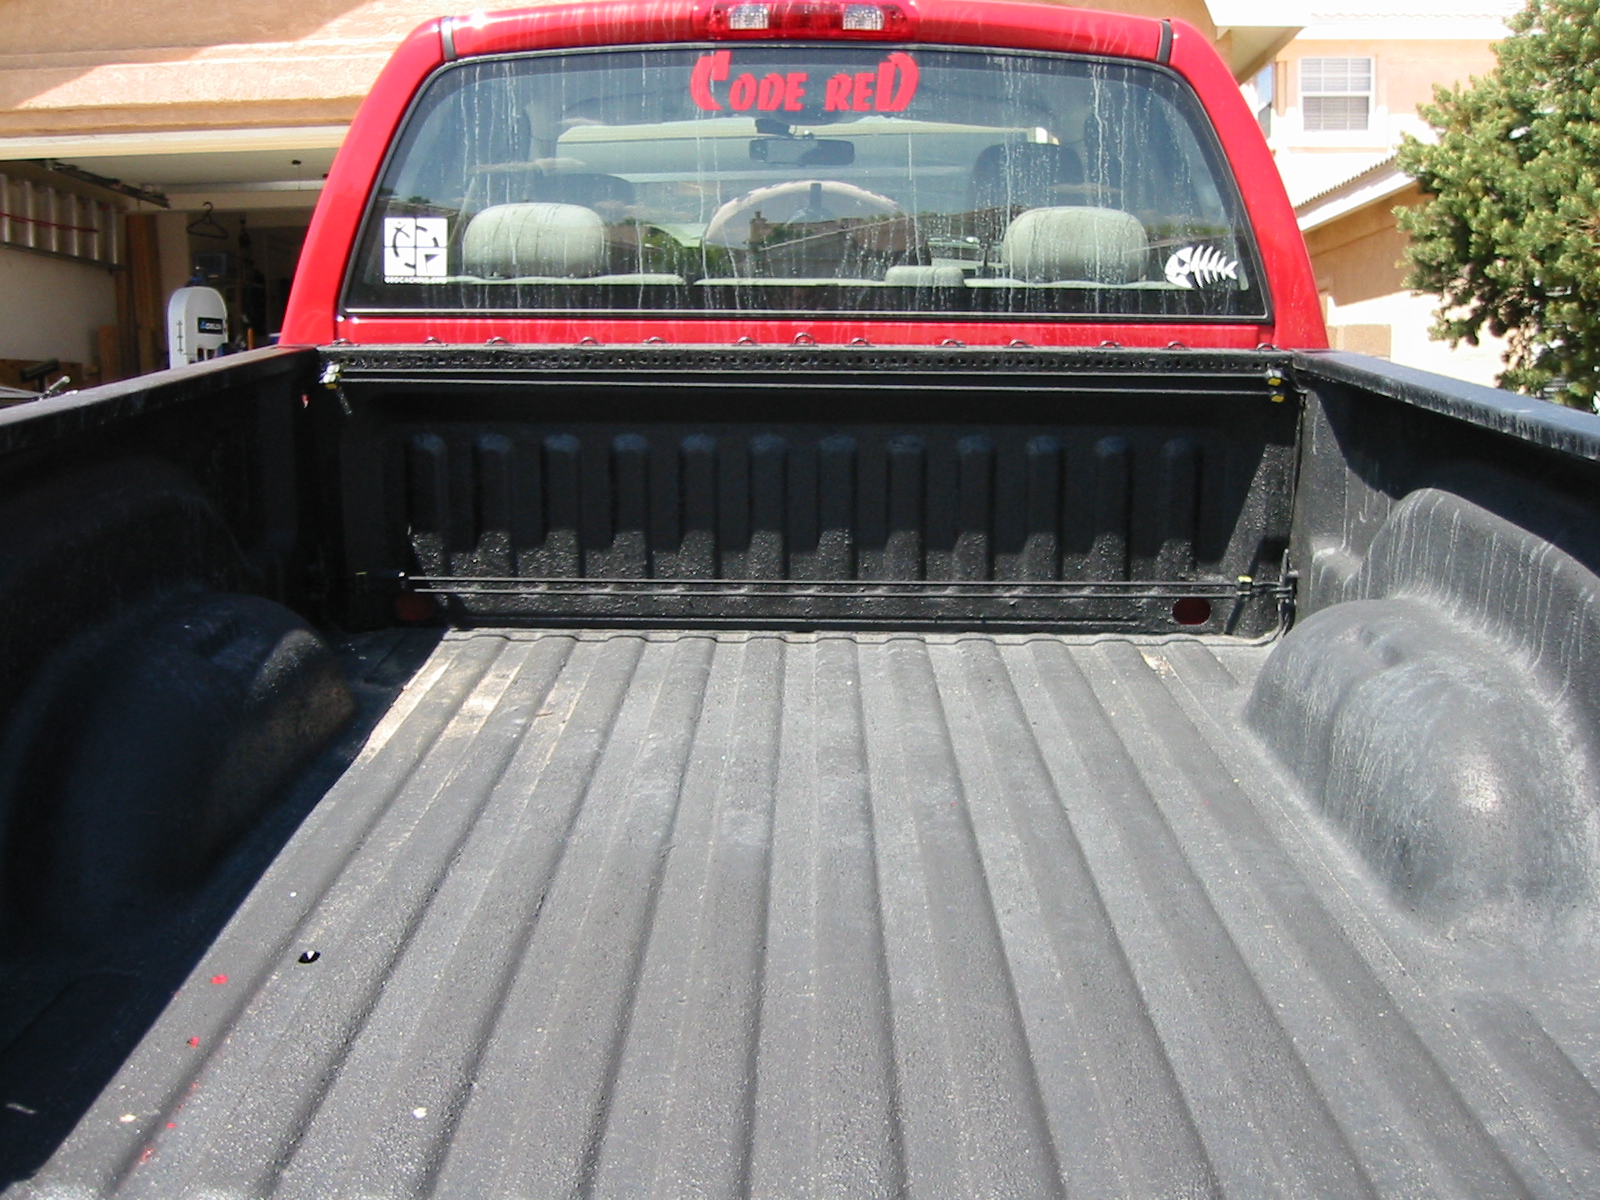
Holy cow!!! What a difference the second coat makes. I was hoping for more of a flat black, but I wasn't complaining yet because the paint was still wet. At any rate, below is the finished product.

I decided not to do the tailgate because one, I was tired of scuffing and painting, and two I'm going to put a Mopar tailgate cover there. The way those are designed, they don't scratch the paint and they cover pretty much the entire inside face of the tailgate.
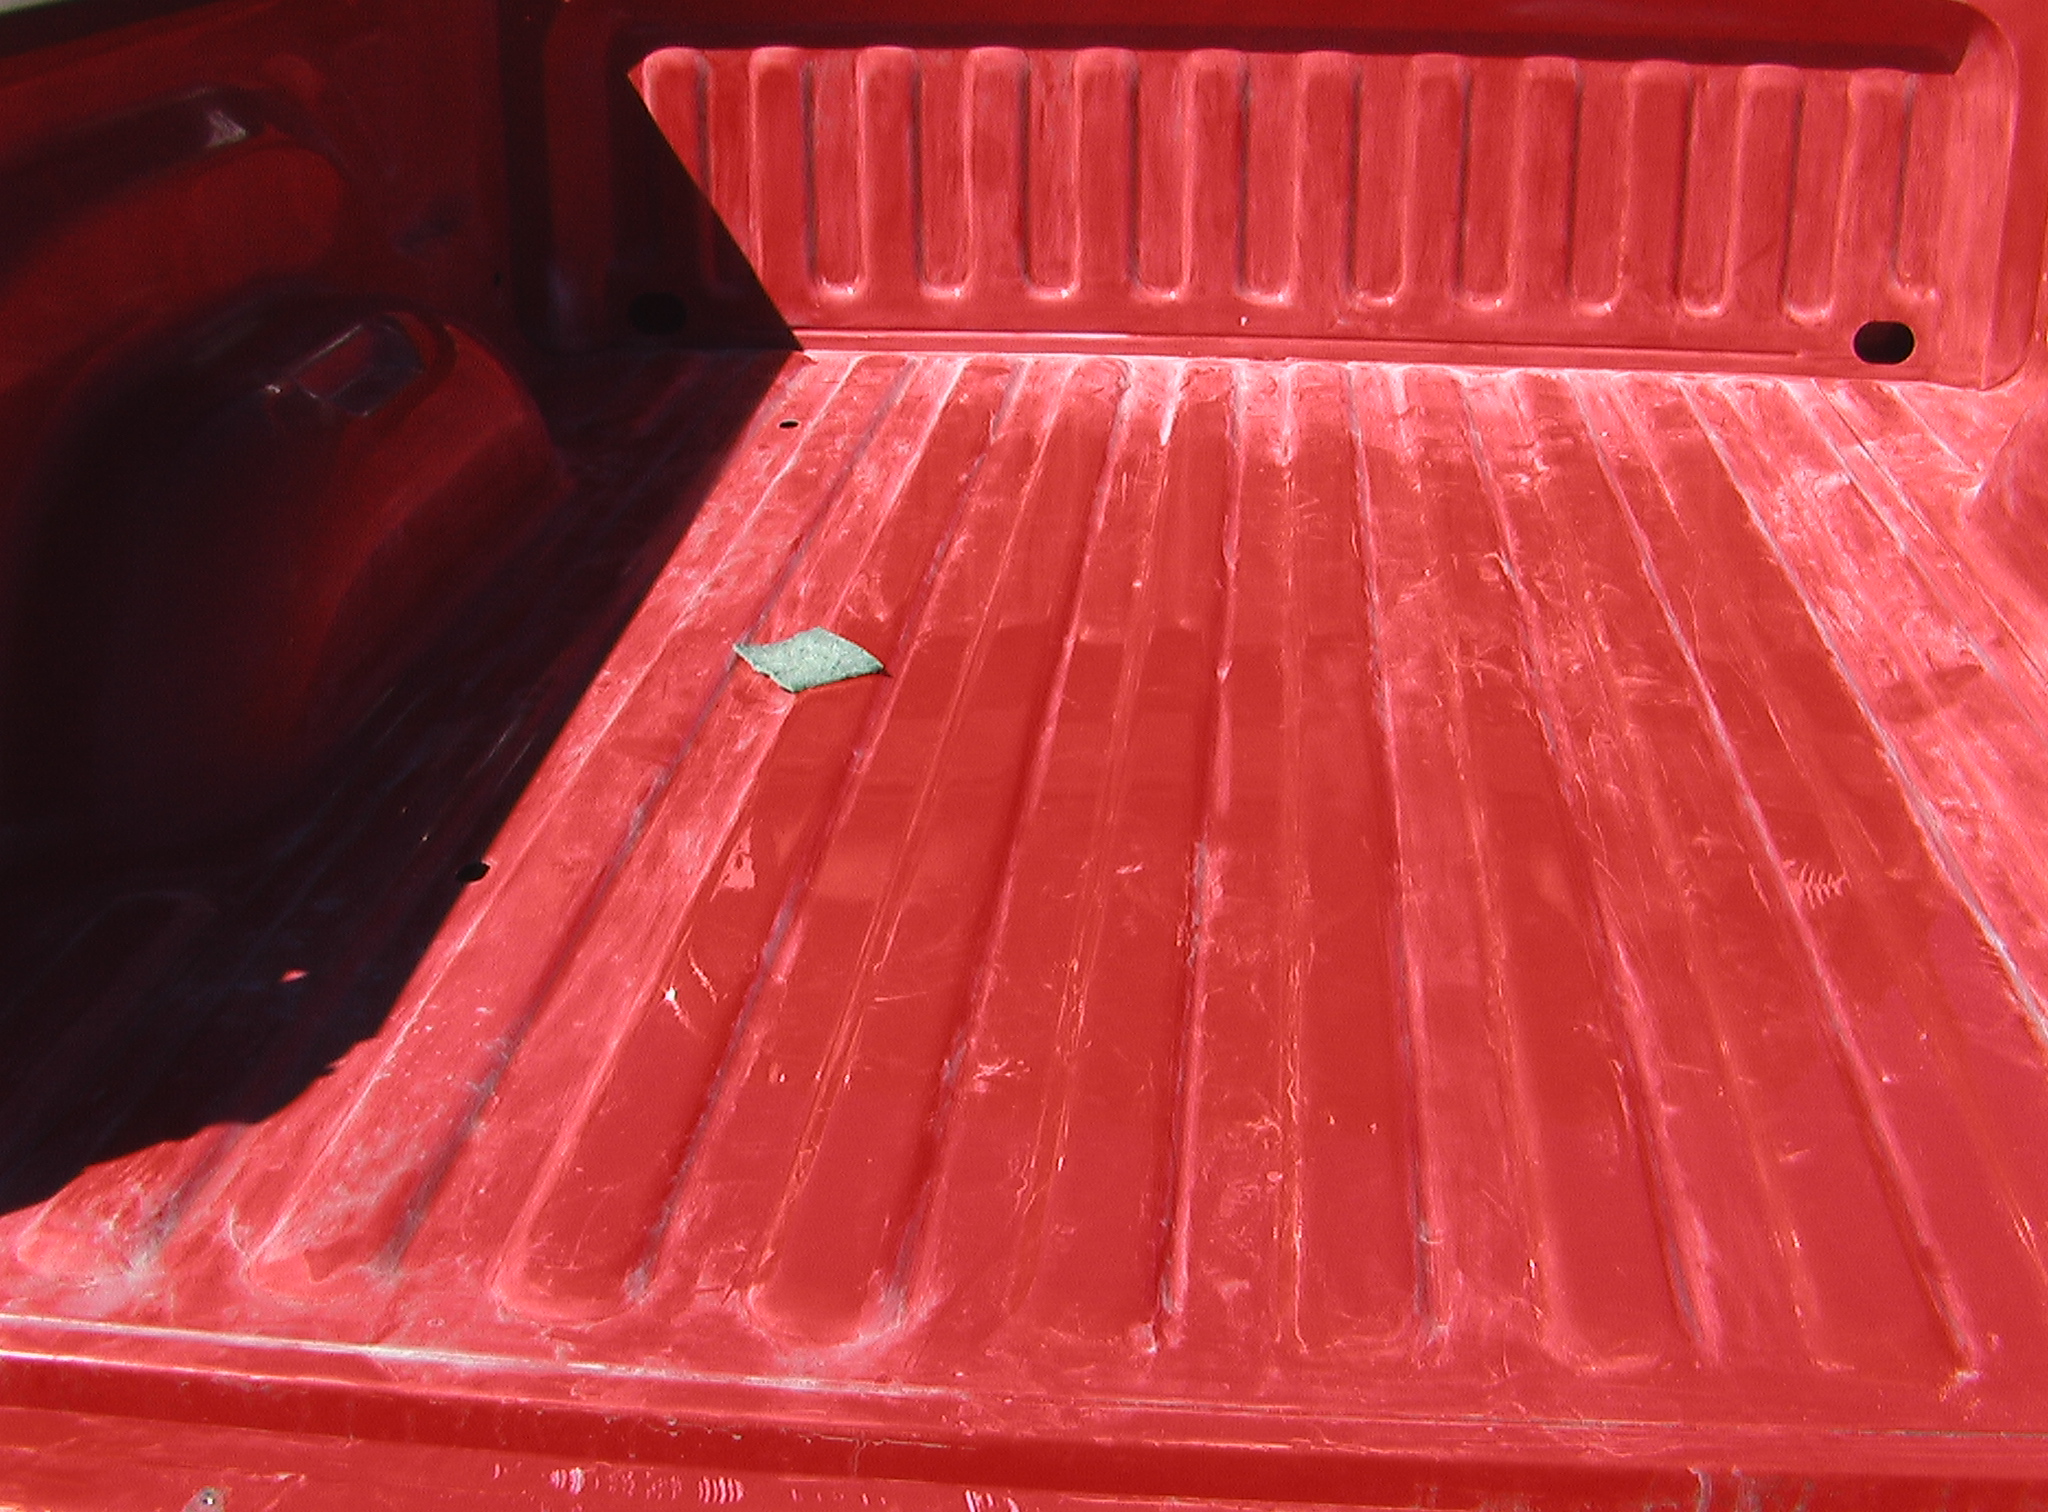
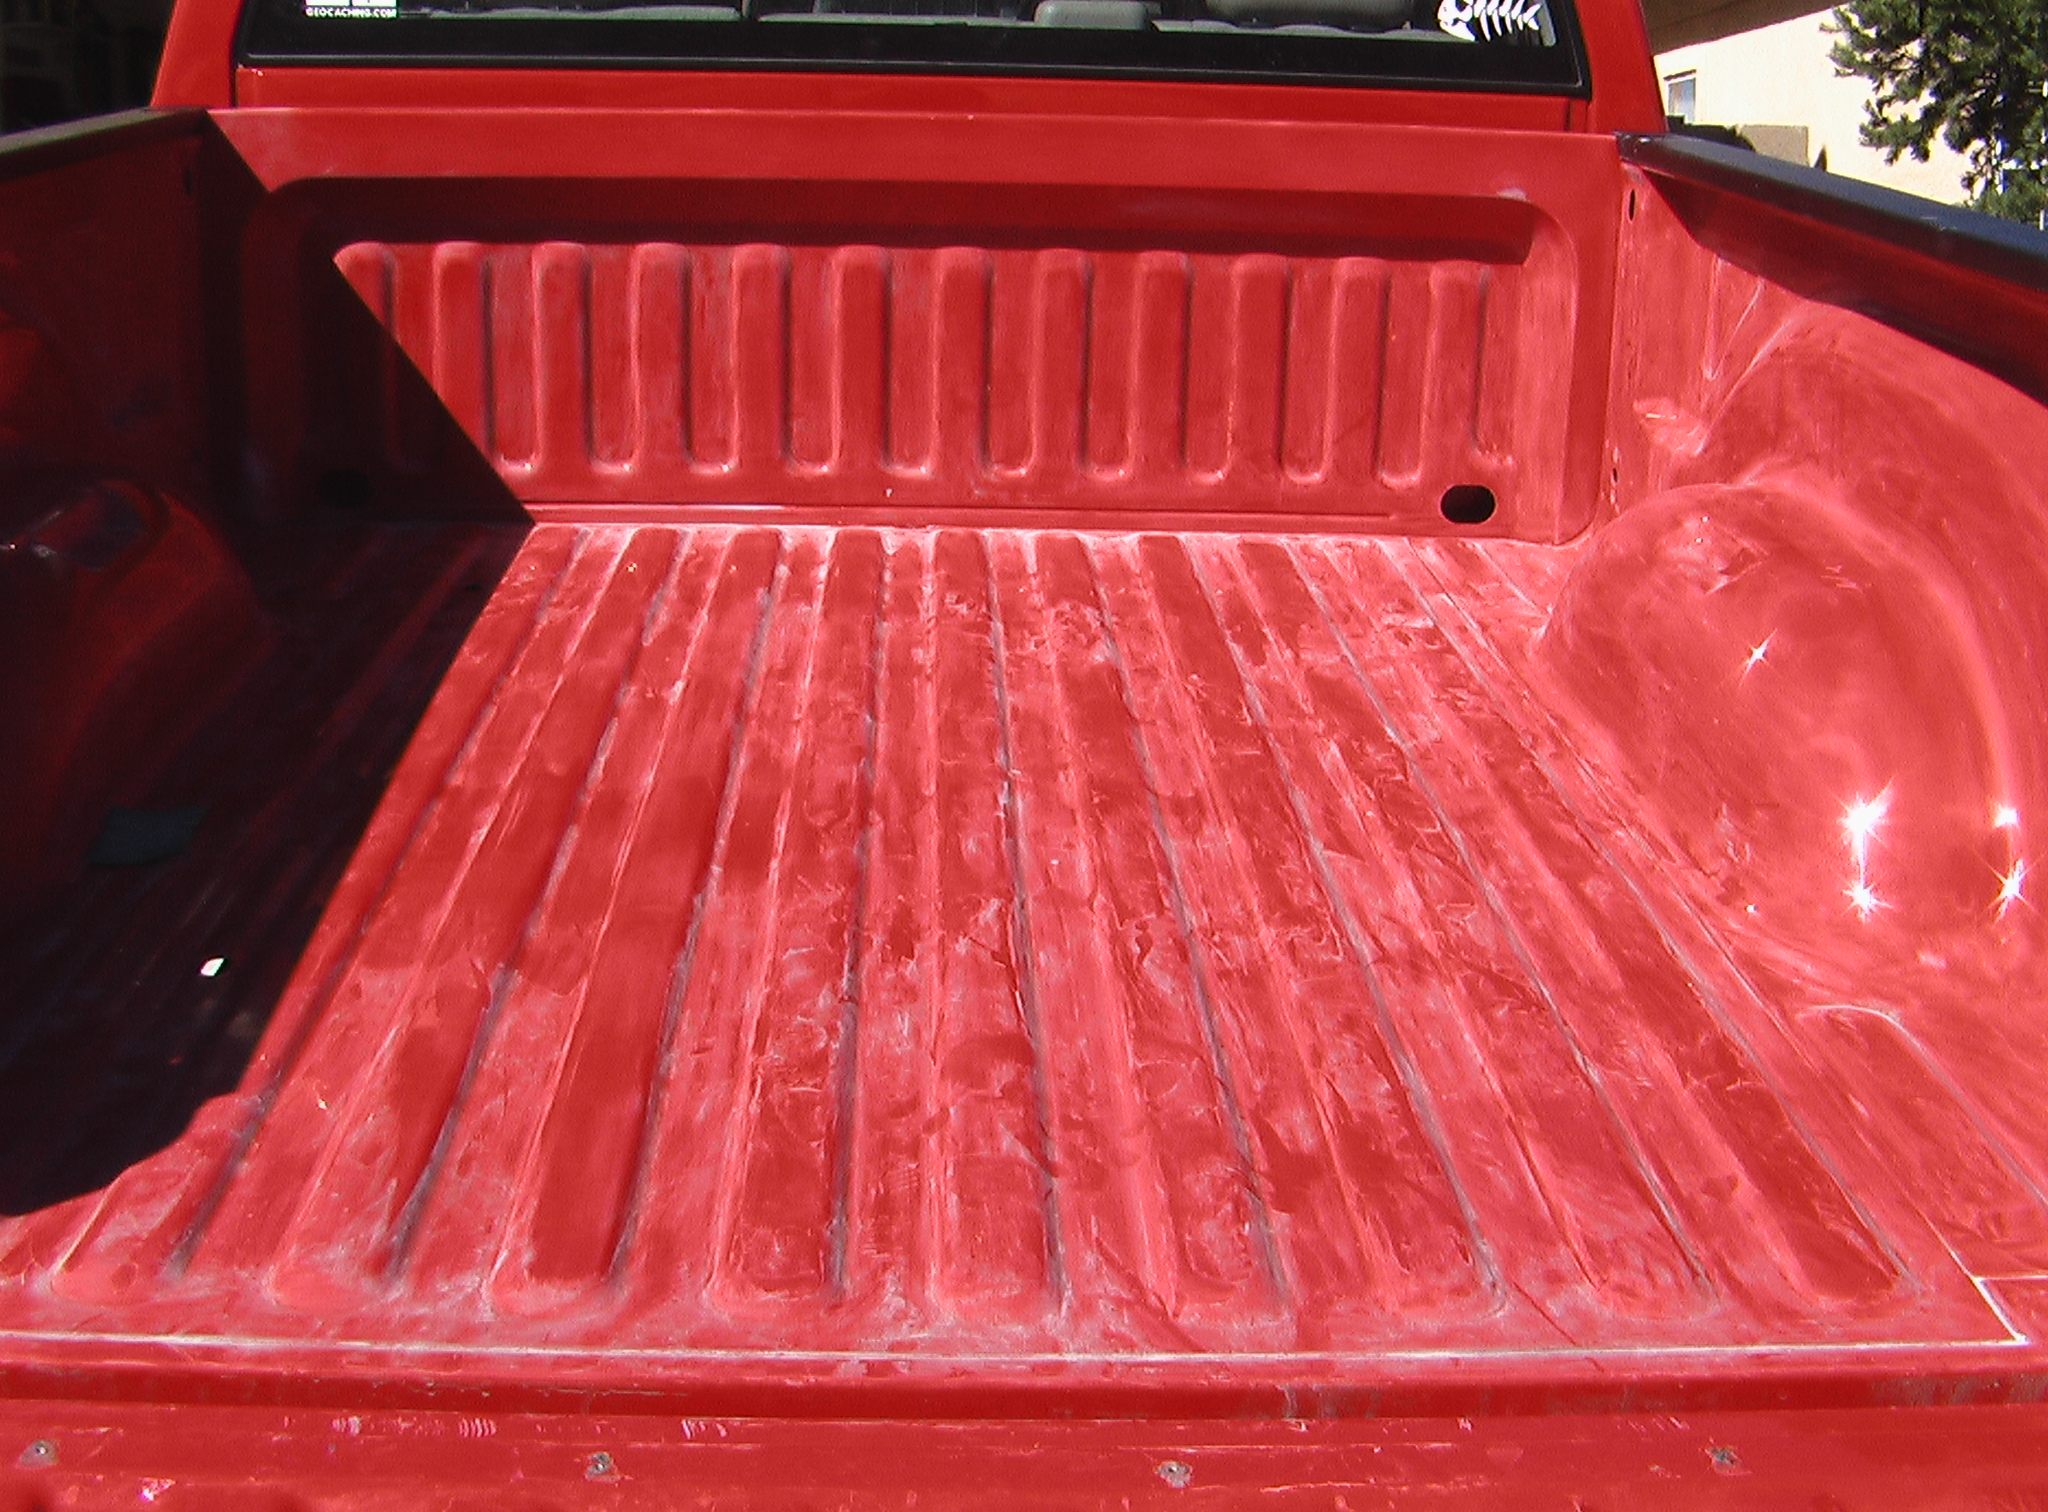
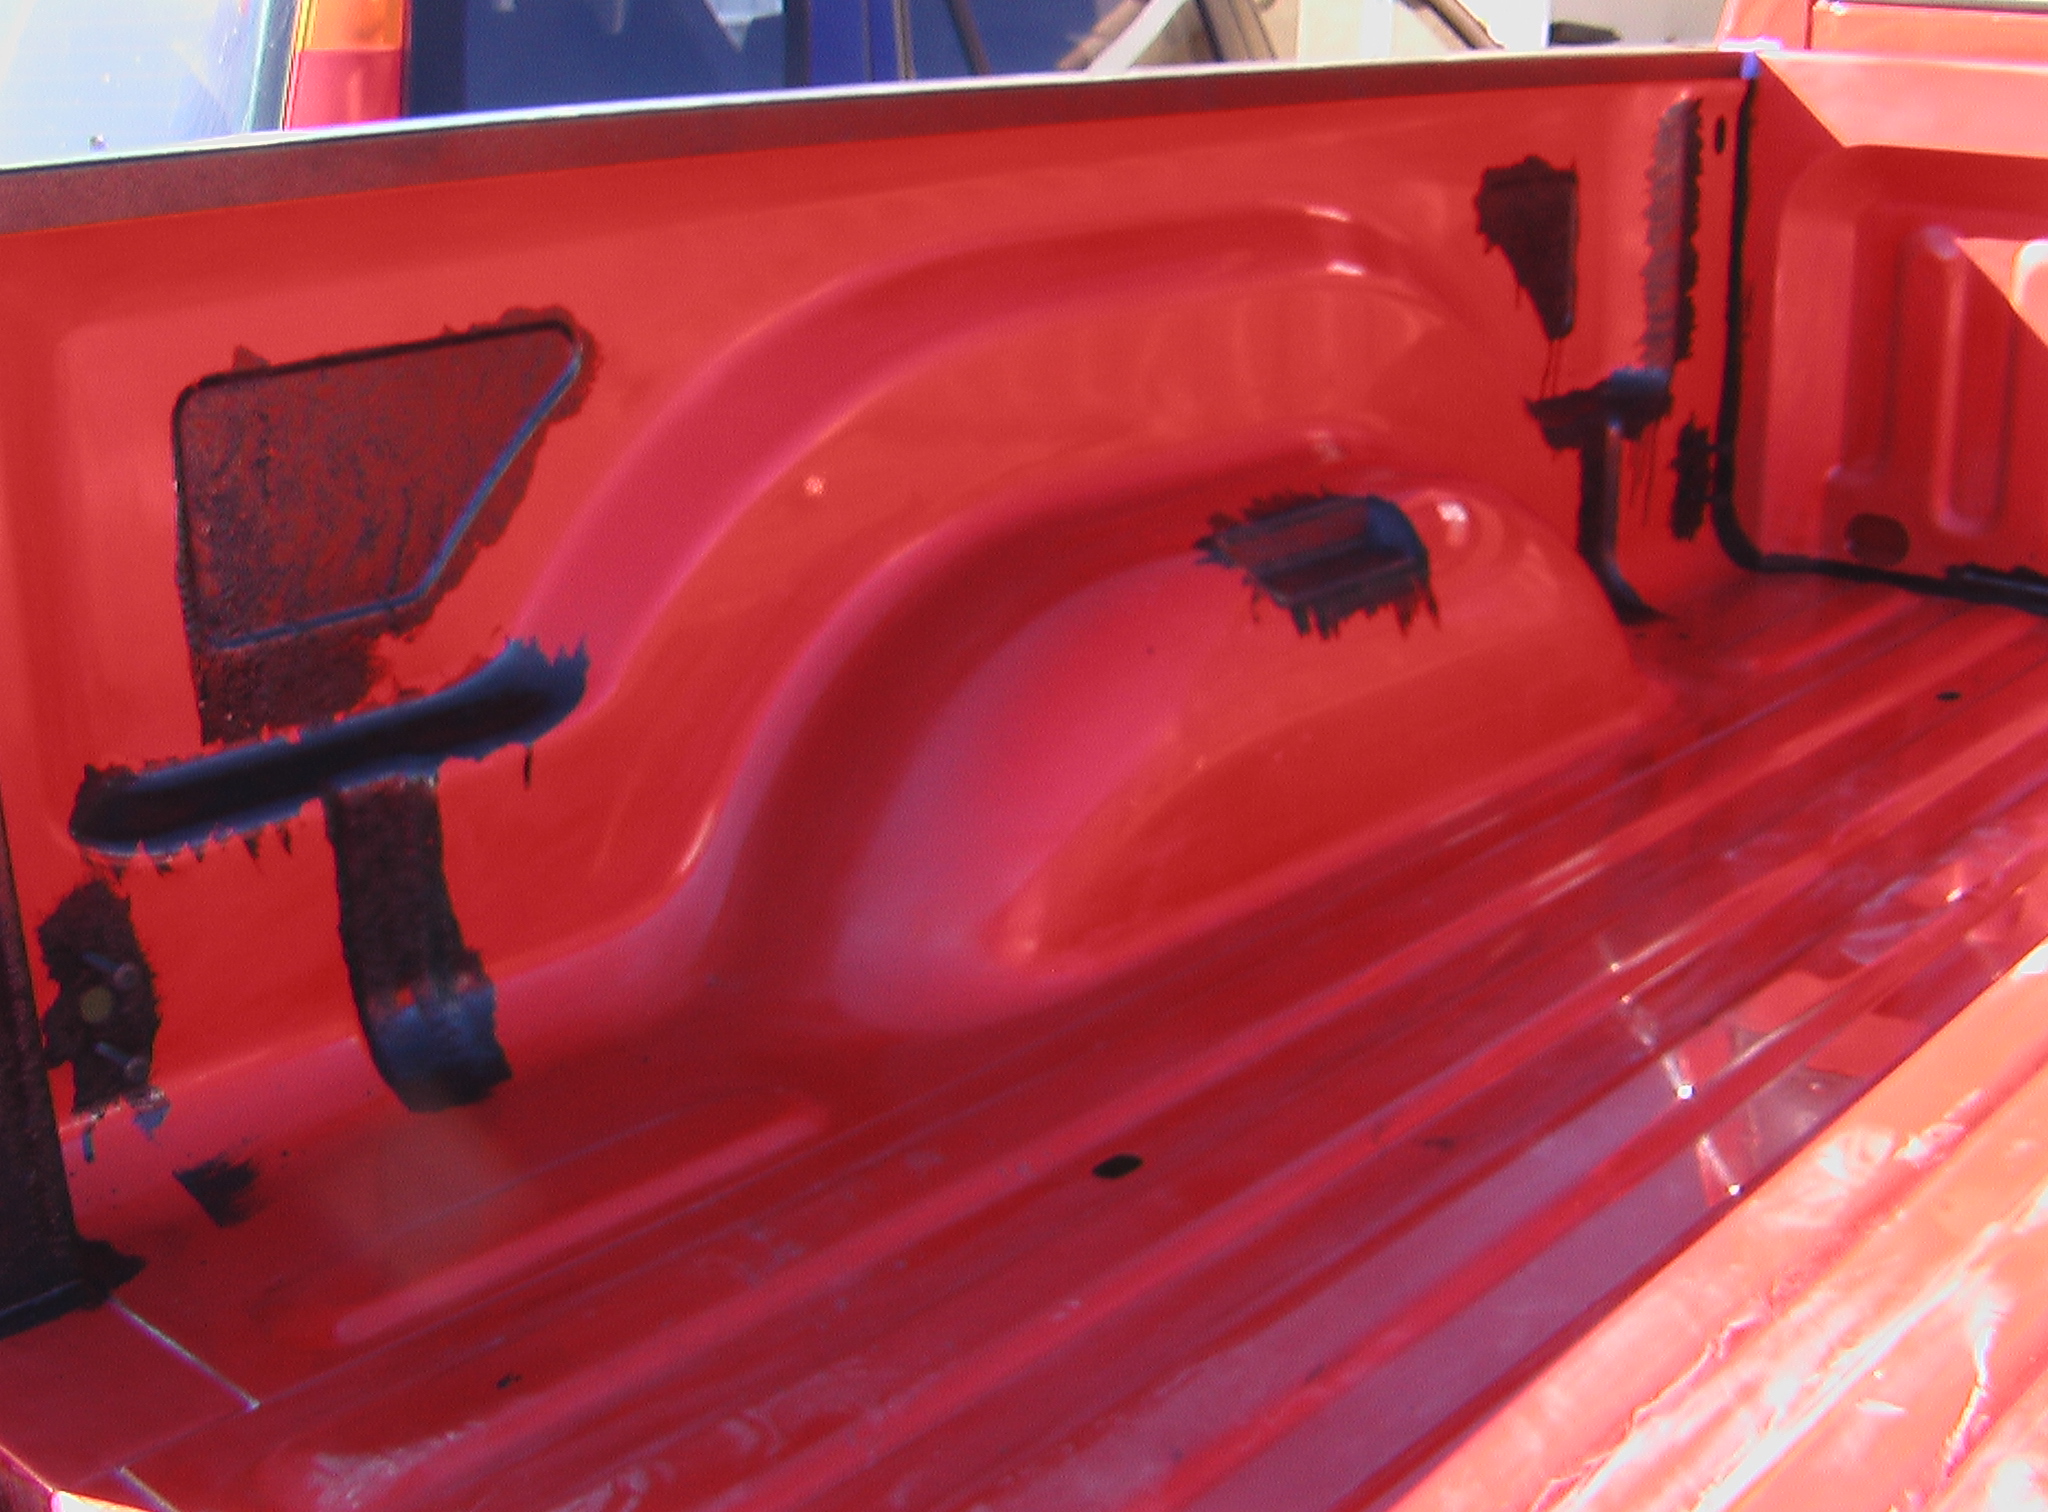
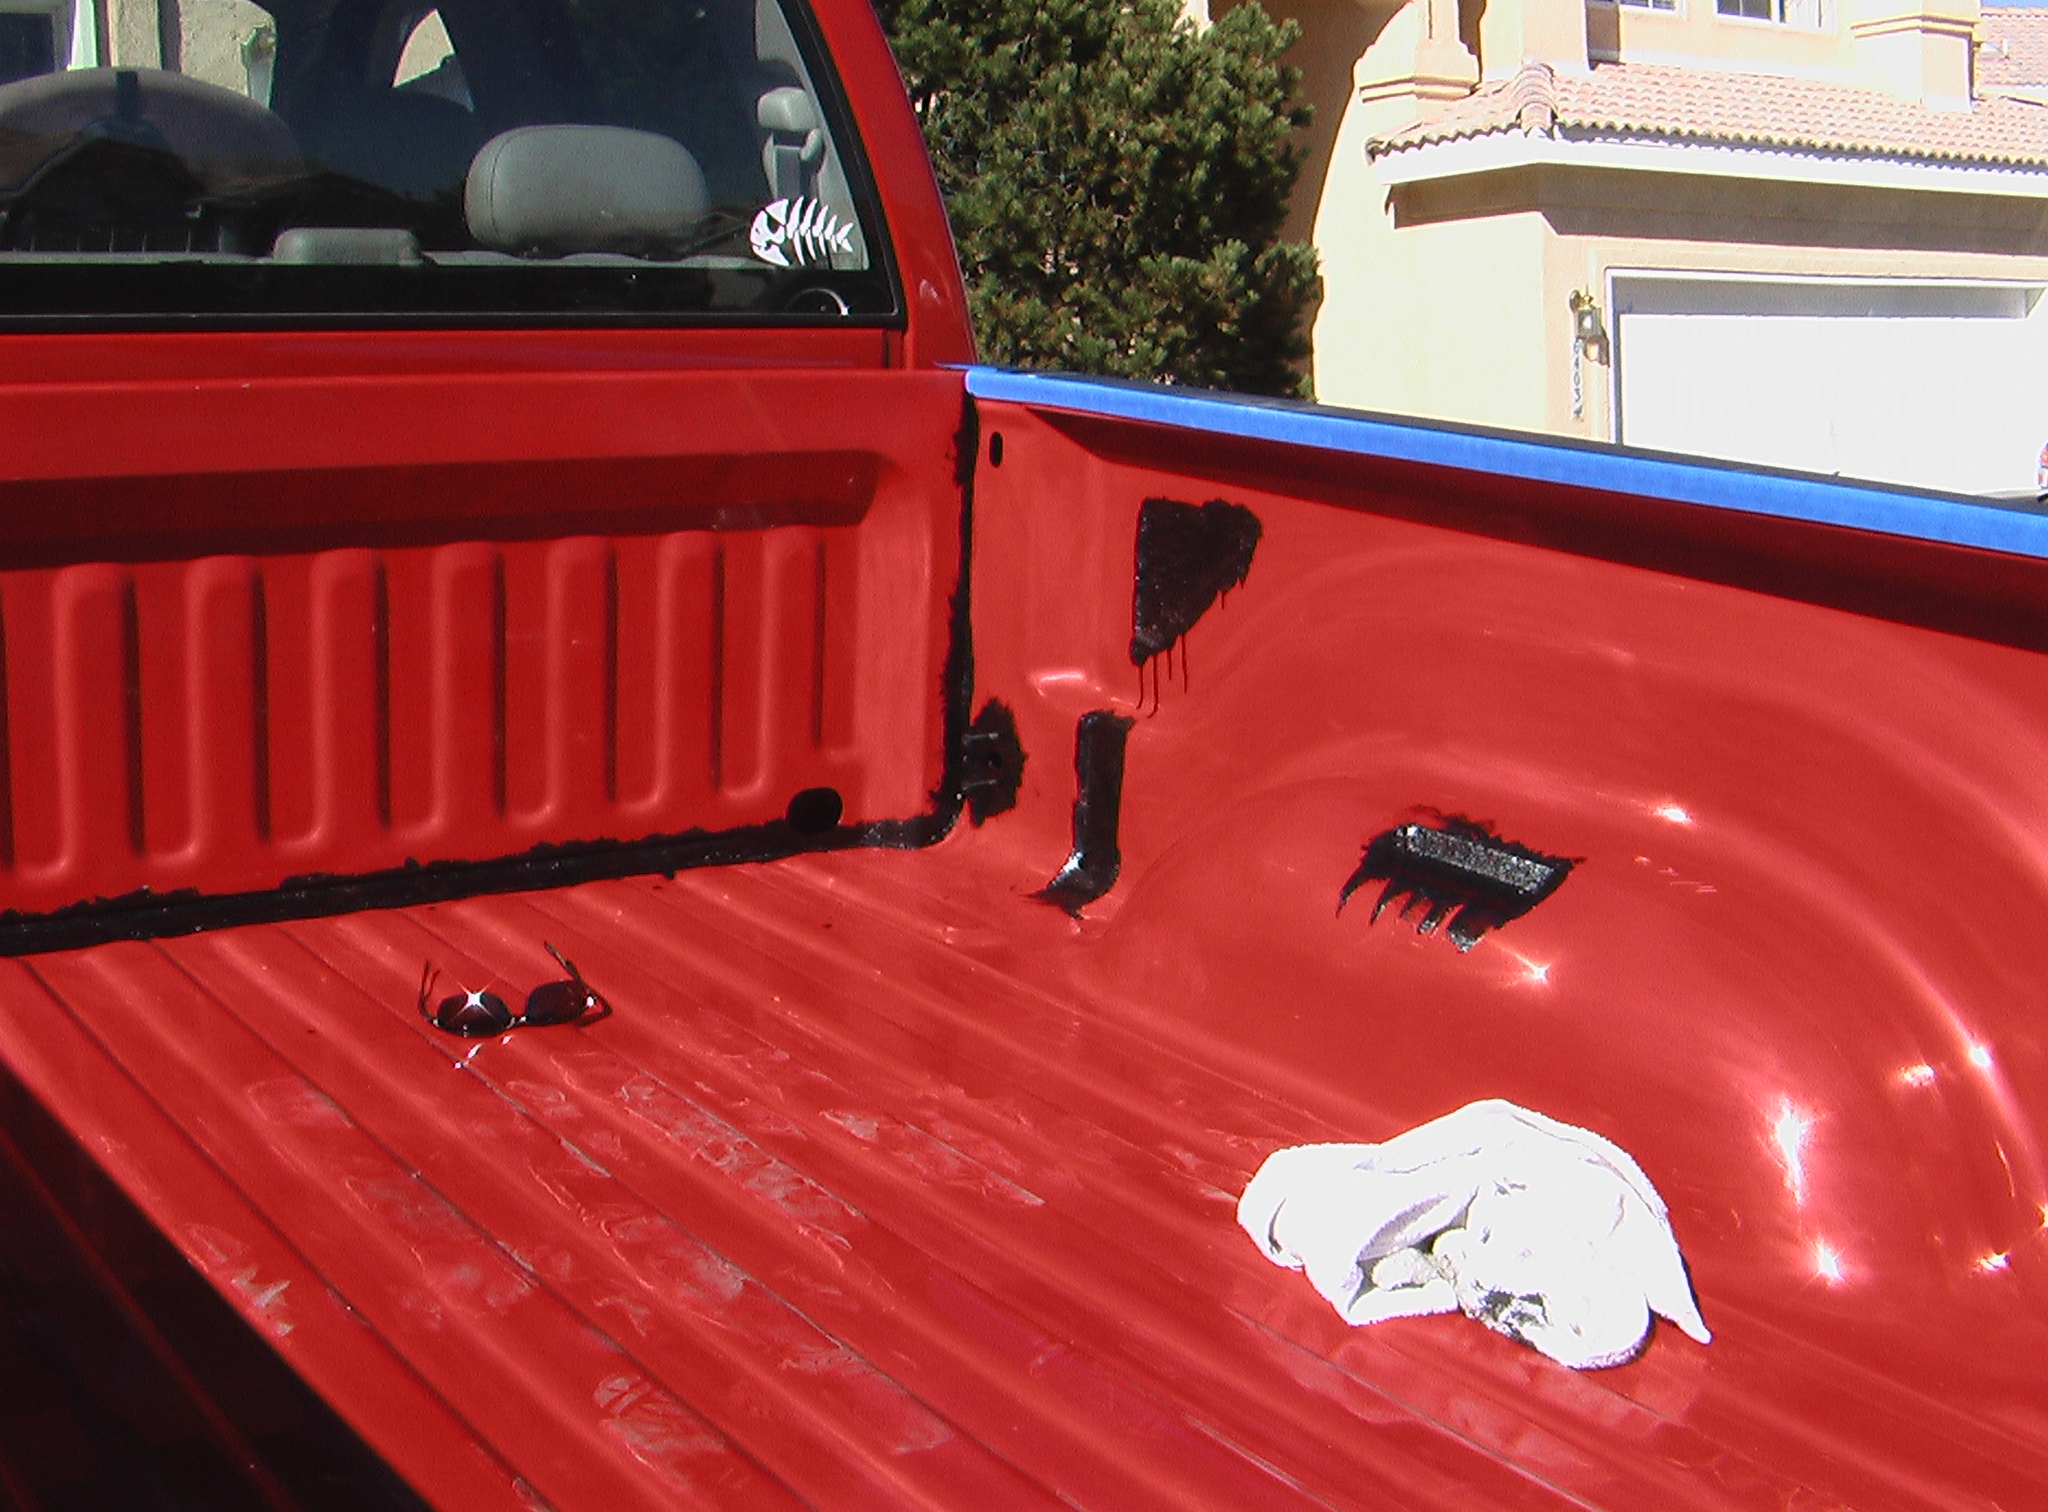
A couple of days later I jumped in the bed armed with another paintbrush and hit all the nearly invisible spots I'd missed and finished off the detail work around the bedrail caps.
Here's a list of things I learned you'll want to know if you decide to do this.
- Really spend the time to do a proper scuffing. I later talked to a guy who showed me his truckbed which he didn't scuff first. The Herculiner didn't stay adhered and was coming off in many places.
- Clean up any big goopy drops promptly. If you let them dry, you'll have these big bumps and it doesn't quite look right.
- Wear old clothes and some sort of gloves. I think I wicked about a years worth of natural oils out of the skin on my hands using MEK to clean them.
- Don't paint yourself into a corner.
- Don't spend a whole lot of time trying to get the first coat perfect. You saw how bad mine was and how well it came out after the second coat.
- If you use tape to mark off areas you don't want Herculiner on, remove the tape while it's still wet. I left the tape on for about two days because of bad weather and it was tough getting it off without tearing the tape or the Herculiner.
- Don't bother trying to salvage any brushes or rollers. It's almost impossible to get the Herculiner off them. I bought a box of the cheapy sponge brushes at Home Depot and those worked great.
- When using the brushes, you don't brush it on, you blot it on.
- Wipe excess rubber particles off the brush before applying or you'll be trying to spread it out evenly right afterwards.
- I didn't wear shoes inside the bed because it kept leaving dusty footprints. Needless to say, the socks I wore ended up in the trash afterwards.
- Take off the tiedown hooks, but put the bolts back in the holes. If I accidentally got Herculiner on the bolt or threads, I pulled it out, wiped it down with MEK and put it back in.
While I won't minimize the amount of work that this takes, it was well worth the effort. You can definitely save yourself a whole lot of time by using some sort of power tool to do the scuffing.
Update:Well, it's been about a month and a half now and I thought I'd give an update on my impressions. The Herculiner did indeed flatten out so that it wasn't so shiny anymore which I was happy to see. What I wasn't happy to see was that it didn't take much weight shifting around to scuff it up pretty good. The first time it happened (which I didn't get pics of) was when we loaded a full pallate of topsoil into the bed about one week after putting the Herculiner on. To be honest though, I couldn't really fault Herculiner for it because after the forklift guy dropped the pallate into the bed, he pushed it forward a few inches to clear the tailgate. I didn't realize how bad it had messed up the Herculiner until I got home and unloaded the pallate but it required a good bit of Herculiner I had left over to patch it up. I expected Herculiner to be tough, but I didn't expect it to be invincible and this was clearly abuse on my part.
About three weeks later I helped a friend move some furniture and the Herculiner got torn up pretty bad again. Oddly enough, I had even laid out a bedsheet in the bed to protect the furniture from the Herculiner. The furniture we moved wasn't all that heavy and nothing was shifting around much as I had strapped everything down. The damage came from loading and unloading the truck. Here's some pics.
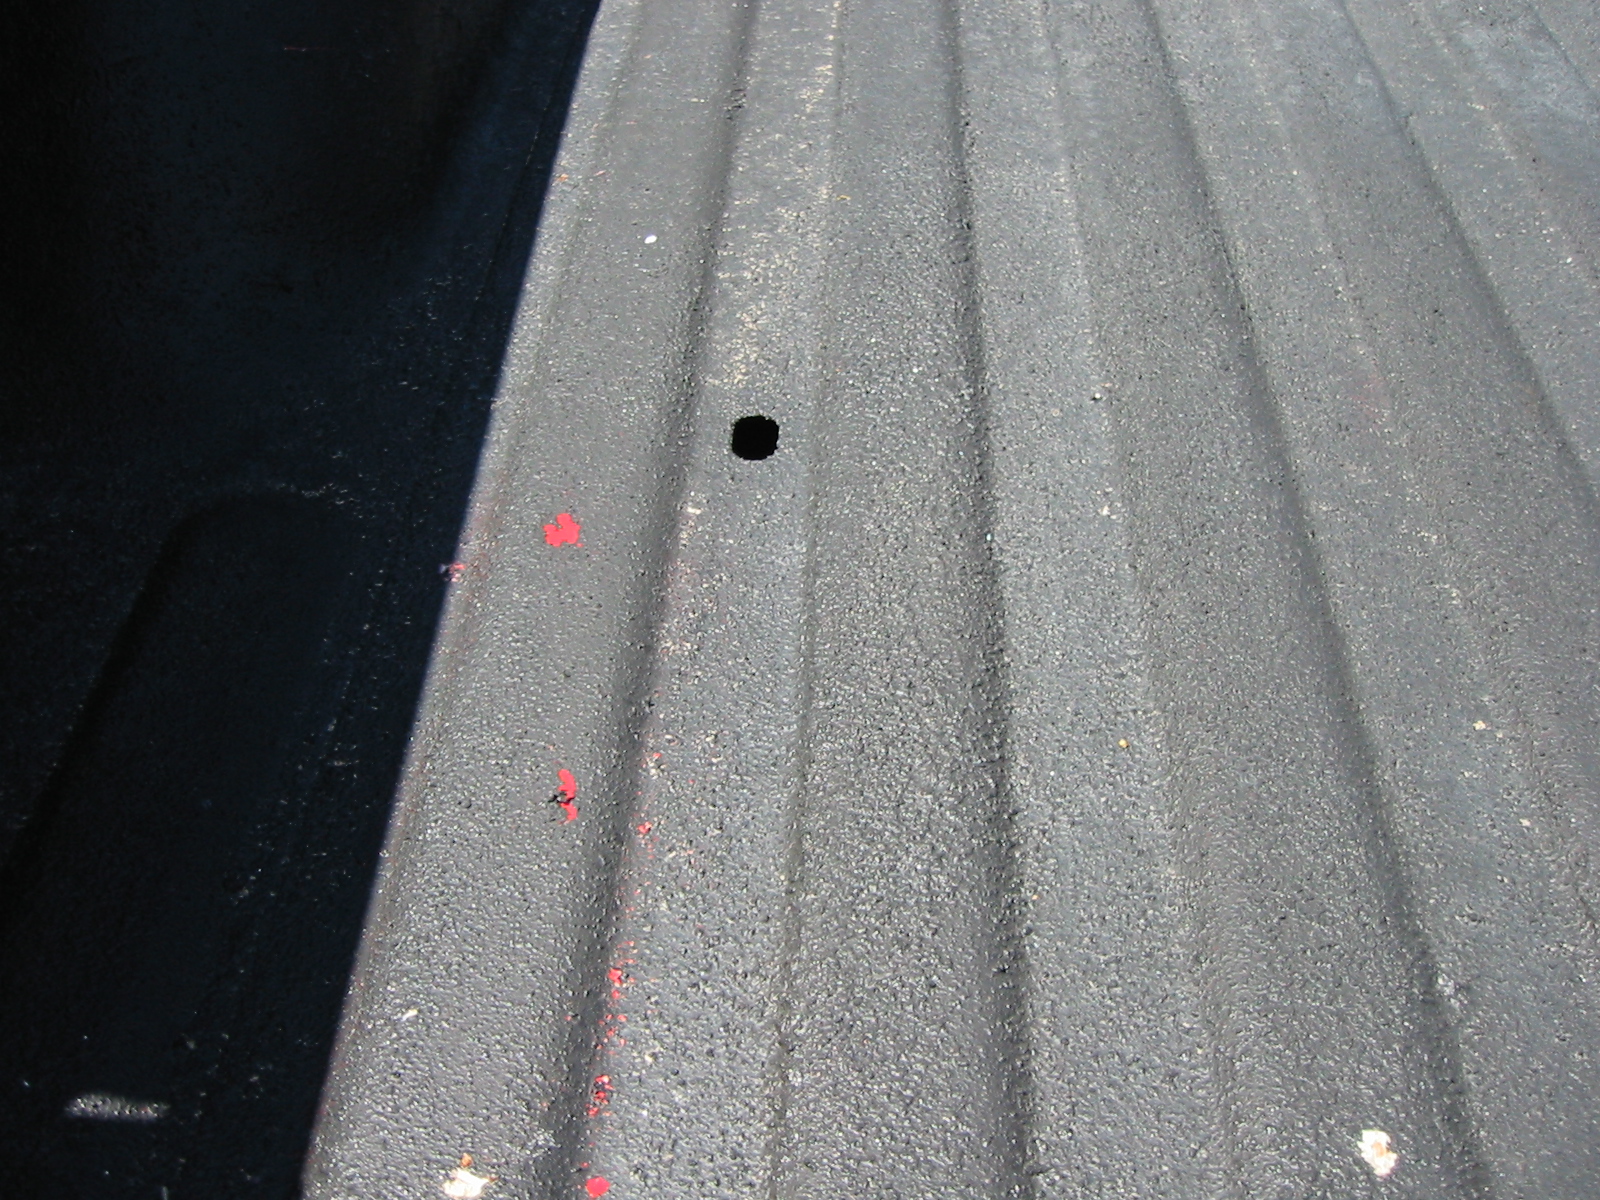
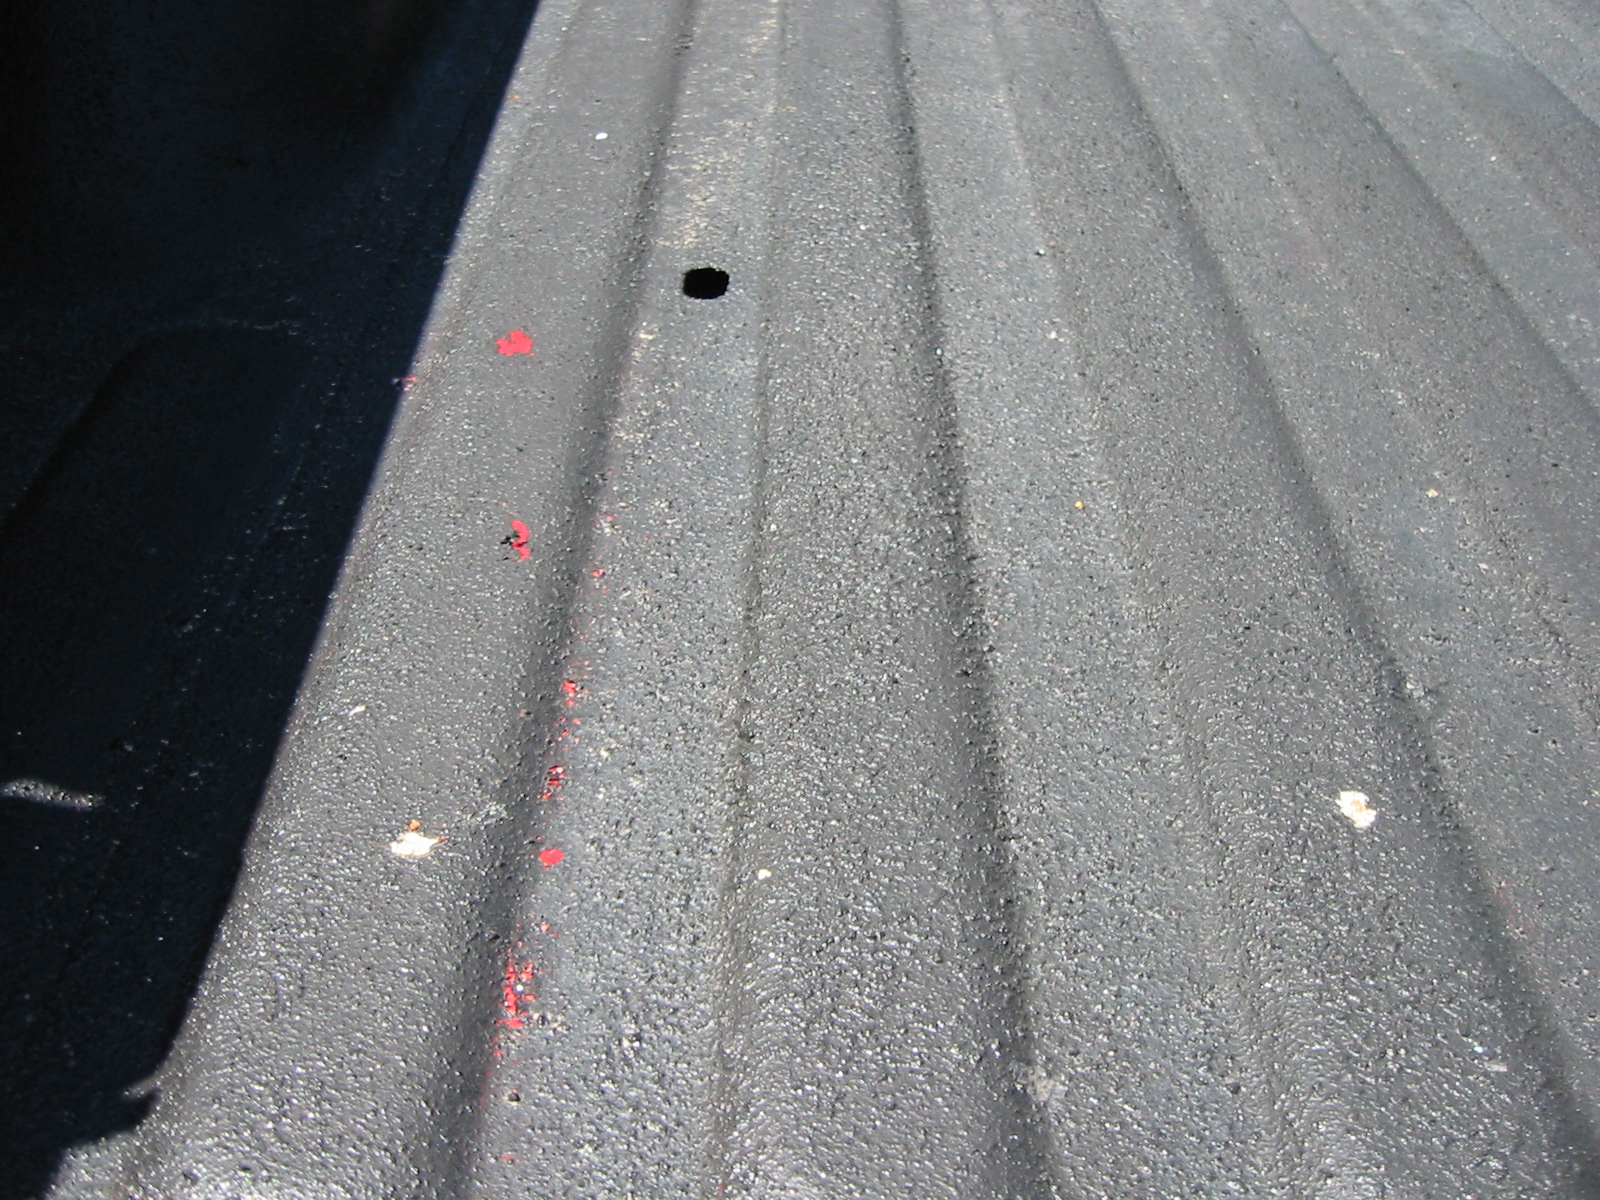
Note, these scratches aren't in the locations I had painted again after the topsoil incident as those were located in between the wheelwells. You can also see that I put the Ubiquirack in this truck too but I painted it this time with the last bits of Herculiner I had.
Update #2
Well, it's been a couple years and it looks pretty bad now. In fact, it started
looking "pretty bad" at about six to eight months. I stopped trying to patch it
up and just covered the bottom of the bed with a rubber mat from Dodge.
My recommendation, save your pennies and do it right with Line-X or Rhino Liner.
Got comments or suggestions?