TruckHacks - Installing Cab Lighting


About a month ago, I entered my truck in a contest held by Recon Lighting and won a bunch of various lighting kits for my truck. The below is the installation for the smoke cab lights.
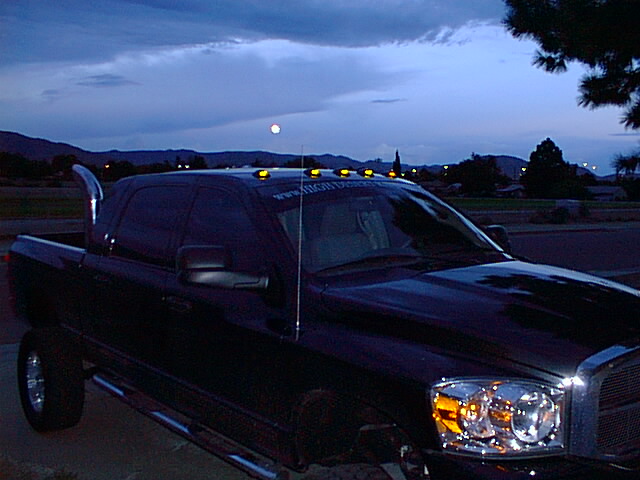
To the right is a picture of my truck without cab lights; the obligatory "before shot". Now, let's get down to business and start with the prep work.
A-Pillars - Pop the little caps covering the bolts. I just took my pocket knife wedged it in there and twisted very carefully... Them take a 10MM socket with an extension and run the bolts out.. Gently pull upward and outward and the A-pillars are off.. You'll also need to take off the B-pillars.
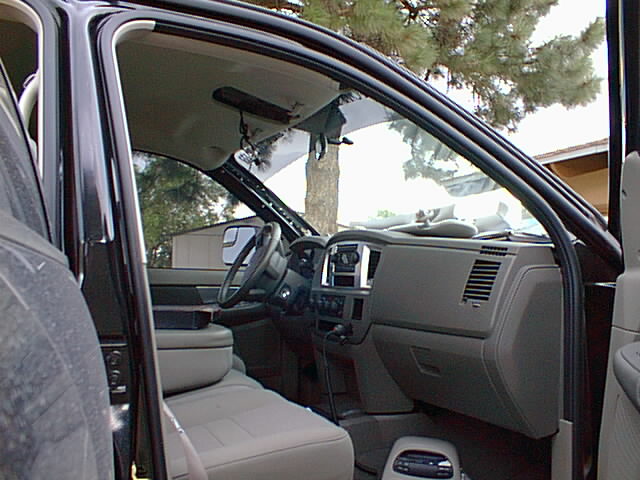
Sun Visors - This is really simple. Take a Torq Bit (don't remember which size) and unscrew the three screws holding the sun-visors to the ceiling.. If you have lighted visors you will have wiring that will be attached, there is usually plenty of wiring slack there so just pull enough out enough that you can set one end on the dash and let it relax... To remove the little clips that the other end of the visors attach to, take a flat head screwdriver and separate the two pieces. The key to this removal is to pull the front piece DOWN!! The front being the piece towards the window not the seat. Once it pulls down just keep pulling and it will pop out..
Overhead Console - Really simple.. Pop the light covers off with a flatheaded screwdriver and it reveals two more torq screws. Remove those and walla... Then there is a black cartridge that is attached to the roof which the overhead attaches to, remove the two phillips screws and set those someplace safe.
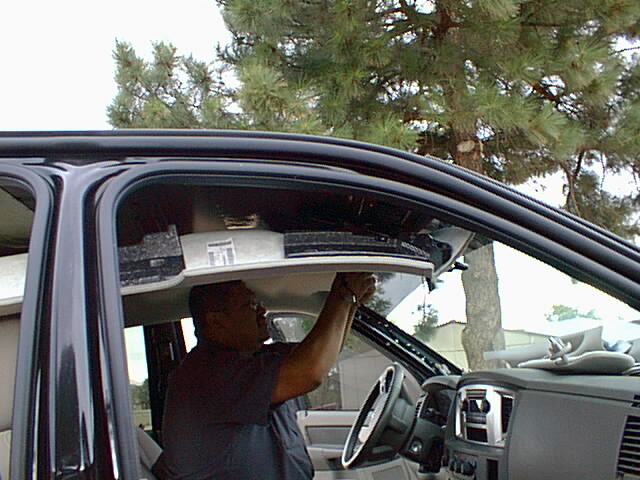
Next, pull on the front of the liner and it'll pop loose.. I took my mag light and stuffed it up there so the liner had about a 10" gap below the metal roof to avoid accidentally hitting it with the drill.

Earlier in the day I stopped at a friend's house and measured his lights exactly so that I would know where to put the template. First I measured the center light from the top edge of the windshield to the edge of the light which was 4". The two lights that go on either side of the center light are also at 4". The outermost last two - farthest ones are 6" from the top edge of the windshield... Then starting from the driver's side the lights go in order 5-3/8 - 17-3/4 - 26 - 35 - 46-5/8 to the center of the lights measuring from the back of the lights from the edge of the door when shut.. With these measurements I was able to put the template onto the roof with confidence and securely tape it down all across the roof and window...
Ok, all the prep work at this point is done. Now it's time for the scary stuff like drilling through the roof and getting all the wiring hooked up.
 First
First
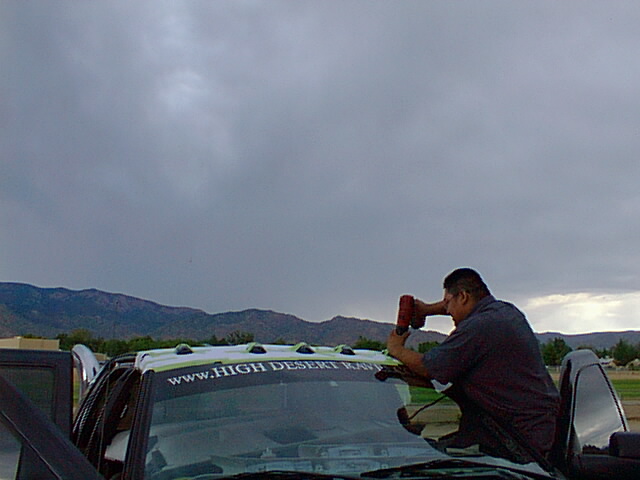
I took a 1/4 drill bit and slowly started to drill out pilot holes for each hole in the template.. I didn't have a punch and didn't need to keep the template so I just drilled straight through it.. First hole was a little scarryy.. The remaining 9, nooo problem.. Now it was time for the big daddy... The 7/8 bit... Yes sir!! Went pretty darn fast.. I couldn't believe how thin the roof was and I kept double checking to make sure that the flashlight was still keeping the liner down and away from the drill bit... It was only afterwards that I remembered a trick which involves wrapping tape around the drill bit about a 1/2" back from the tip to make a sleeve which would prevent the drill bit from going in too far once you punched through the roof... Even still, it was no sweat... I'll admit it up front... I was a little anal with the silicone because I didn't want any possible leaks, so I filled each 1/4 hole with clear silicone and pushed in the Teflon catches...
Now, back on the inside, I set the wiring up between the liner and roof and pushed the wiring up through the holes that I just drilled... Once all the wiring was routed and supported by the liner, I took out the flashlight so the liner could rest in a natural position and went back to the roof..
Push the Teflon screw sleeves in the holes and take a screwdriver to push down the tabs in the center. This will lock them in place.. I also had enough silicone in there that they weren't gonna move or leak... After that I also made a bead of silicone around the 7/8 hole ensuring that there was a good seal....
Take the supplied bulbs and push them into their corresponding "wart" and we're almost done with the mounting portion... Attach the wiring to the cab lights with a slight push and twist.. From there, set each light above the Teflon sleeve with about 1/4" of each screw showing to help line up with the holes... Make sure you're all lined up because you don't want to accidentally miss and try screwing into the roof. You can also add a small bead of silicone to the rubber under the cab-lights which I forgot to do, but I only had one light that didn't quite seat perfectly so I ran some silicone around the outside of each light...
Once the lights are all screwed down and secure go back to the inside...
Wiring - If I'm like most people this kinda stuff really pisses me off... After doing a ton of research on forums, I found out that I could just tap into the passenger a-pillar wiring and be done... We'll I found the right wire - I thought - spliced into it went over to the driver's side "hit the switches", andddddd NOTHING.... What... Since I was smart enough to leave my multimeter at the shop, I couldn't quite figure out what was going on... After about an hour of talking with t-boe and not being to get these babies to light I went and dug the instructions out of the garbage, re-ran the wiring down the driver's side a-pillar and hooked it to the positive side of the battery.. WOLLLLLAA! We have lightage.. So I followed the directions and found the wire from the factory fuse box, tapped it and good to go..
From there I buttoned up the liner, visors, overhead console and then the a-pillars.
This is a really simple install and now that I've done it, I could probably do it in two hours... But I was being extremely ANAL and it took me four hours plus one hour of trying to get power. Still, not too bad of a project for an afternoon..
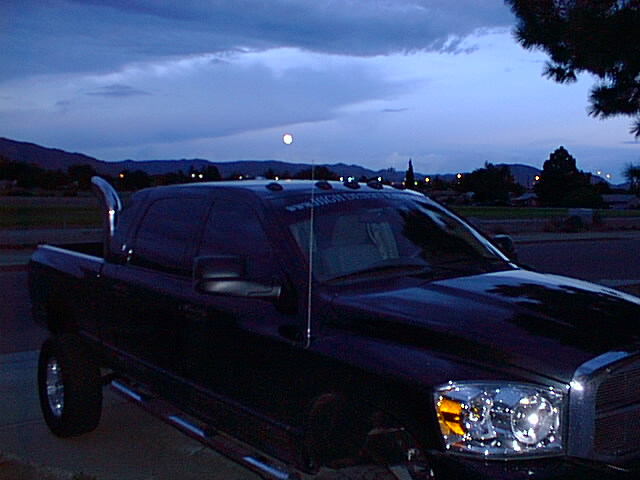
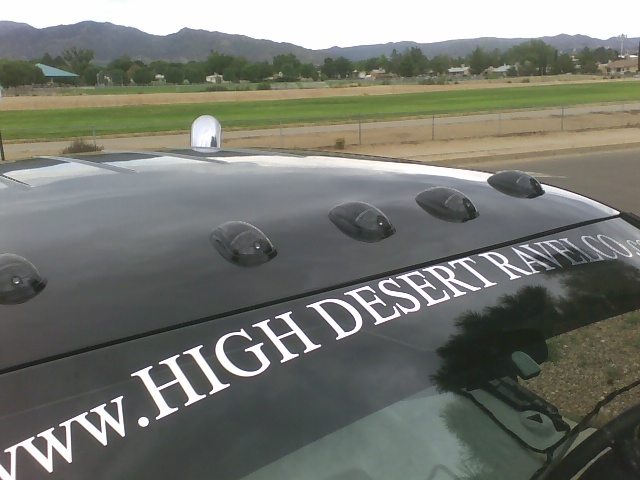
The real test was the last two days.. It rained buckets here and no water leakage.... I can't believe the Dodge dealer wanted so much money to put these in... Well, here she is all finished up.
Got comments or suggestions?